Do you have plans to learn new crochet stitches in the new year?
This project will have you learning some fun linked crochet stitches. Linked stitches are just like regular stitches except they don’t produce all the holes normally associated with tall stitches.
Once you learn how to use linked stitches, try using them in other patterns for a different look.
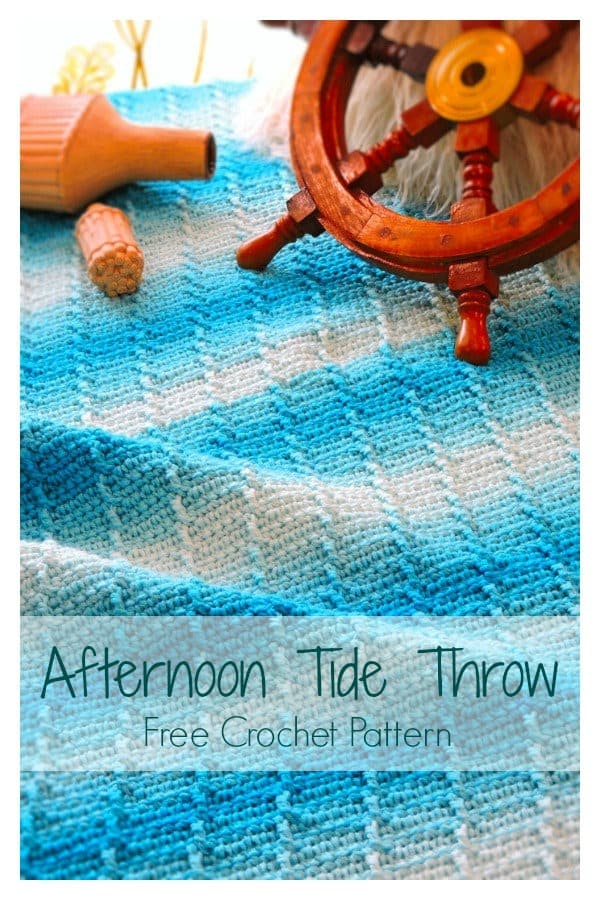
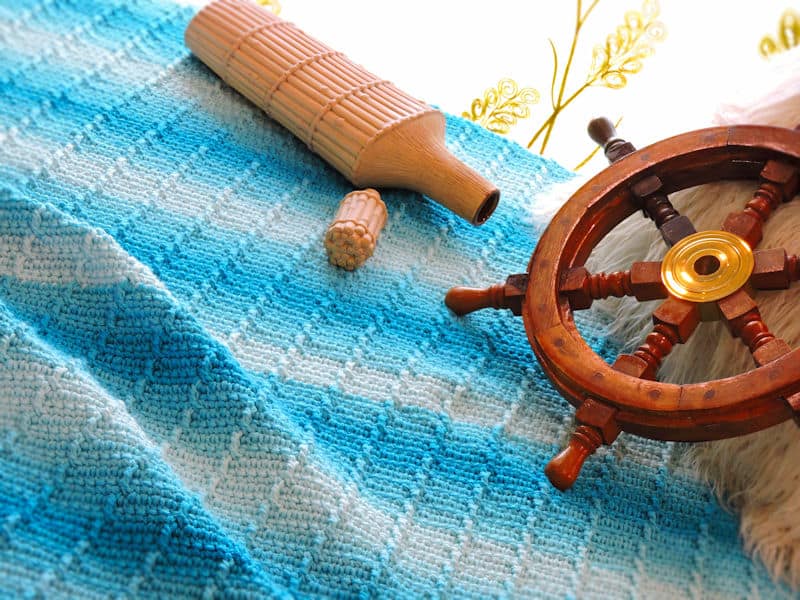
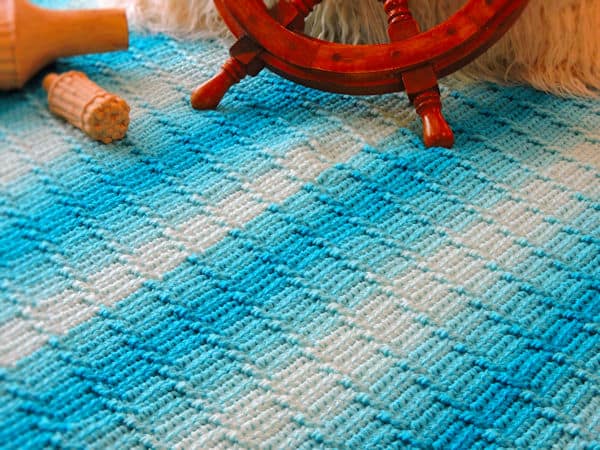
Afternoon Tide Throw
designed by Kim Guzman © June 2018
Please read my Terms of Use
Technique: Regular Crochet
Finished Size
45″ x 47″
Video Support
Note: Video will not show if using an Ad Blocker. Please turn off Ad Blocker to view.
Materials
- Red Heart Super Saver Ombre, 100% acrylic, 482 yds per 10 oz, Size 4 aran weight: 4 skeins (or about 1928 yds) in color Scuba
- Size K-10½ [6.5mm] crochet hook, or size needed to meet gauge
- Yarn needle
Thank you to Red Heart for providing the yarn used in this project.
Gauge
In stitch pattern, 13 sts for 10 rows measures 4″
Special Stitches
Beginning Linked Double Crochet (bldc): Ch 2, sk 1 ch, insert hook in next ch, yo, pull lp through, insert hook in same sc as ch 2, yo, pull lp through (3 lps now on hook), [yo, pull through 2 lps on hook] twice.
Linked Double Crochet (ldc): Insert hook in horizontal strand of prev ldc, yo, pull lp through, insert hook in next sc or st indicated, yo, pull lp through (3 lps on hook), [yo, pull through 2 lps on hook] twice. Note: For those of you who understand Tunisian crochet and that linked stitches are nothing more than Tunisian crochet in a join-as-you-go method, the strand I’m using for this stitch is the same as the simple stitch.
Front Post Treble-Single Crochet Cluster (fp-cl): Yo twice, sk 1 row, insert hook from side of sc immediately below, inserting hook around the back of same sc and out the other side of same sc, yo, pull lp through, [yo, pull through 2 lps on hook] twice (2 lps on hook), insert hook in stitch for current row, yo, pull lp through, yo, pull through 3 lps on hook.
Notes
If you are left-handed and you follow the written instructions, your diagonals will be in the opposite direction. This is completely normal.
Should you like to change the stitch count, choose any multiple of 6 then add 12.
All even rows are worked in linked double crochet to produce a “no holes” project. If you prefer to use regular double crochet, it’s perfectly okay to do so. It may affect yarn usage.
Video Support
View the video above or watch on YouTube: Right-Handed | Left-Handed
Crochet Pattern Instructions
Row 1 (RS): Ch 138, sk first ch, sc in each ch across, turn.
Row 2: Bldc (see Special Stitches above) in first sc, ldc (see Special Stitches above) across, turn.
Row 3: Ch 1, sc in first st and next 4 sts, *fp-cl (see Special Stitches above) in next st, sc in next 5 sts, rep from * across, turn.
Row 4: Bldc in first sc, ldc across, turn.
Row 5: Ch 1, sc in first st and next 3 sts, *fp-cl in next st, sc in next 5 sts, rep from * to last st, sc in last st, turn.
Row 6: Rep row 2.
Row 7: Ch 1, sc in first st and next 2 sts, *fp-cl in next st, sc in next 5 sts, rep from * to last 2 sts, fp-cl in next st, sc in last st, turn.
Row 8: Rep row 2.
Row 9: Ch 1, sc in first st and next st, *fp-cl in next st, sc in next 5 sts, rep from * to last 3 sts, fp-cl in next st, sc in last 2 sts, turn.
Row 10: Rep row 2.
Row 11: Ch 1, sc in first st, *fp-cl in next st, sc in next 5 sts, rep from * to last 4 sts, fp-cl in next st, sc in last 3 sts, turn.
Row 12: Rep row 2.
Row 13: Ch 1, fp-cl in first st, *sc in next 5 sts, fp-cl in next st, rep from * to last 4 sts, sc in last 4 sts, turn.
Row 14: Rep row 2.
Rows 15-110: Rep rows 3-14.
Row 111: Rep row 3. Do not fasten off.
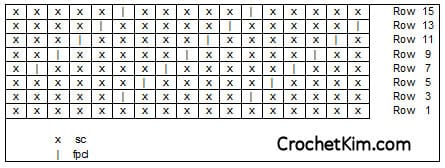
Use this little chart showing 17 stitches as a reference, if you like. Only odd rows are referenced. Read it from right-to-left. You can read it from left-to-right, if you want, but the written instructions won’t match. Once you establish the first row of post stitches, it’s fairly easy to place the remaining by eye.
Trim
Round 1: With RS facing you, ch 1, 3 sc in corner, sc evenly around, with 3 sc in each corner, sl st to first sc.
Rounds 2-3: Ch 1, sc in each sc around, with 3 sc in second sc of each corner. Fasten off.
Finishing
Weave in ends securely.
 |