Welcome, crocheter, to the age-old debate: should we be blocking our finished projects?
This question, when posed on crochet forums online, is often met with divided answers.
In this article, we will answer these questions:
- What is blocking?
- What projects benefit from blocking?
- How do you block?
- Does blocking require specific tools?
What Is Blocking?
The term blocking refers to a process by which crocheted or knitted fabrics are stretched to the desired finished size to open up the stitches.
While many projects look beautiful without blocking (opening and stretching out the stitches), most projects benefit from this final step.
Which Projects Should You Block?
While almost all projects will benefit in some form or another from this finishing process, projects that include lace or are made with natural fibers benefit the most.
Let’s examine the most popular types of projects you might make and weigh the benefits of blocking against the effort it requires.
Blankets
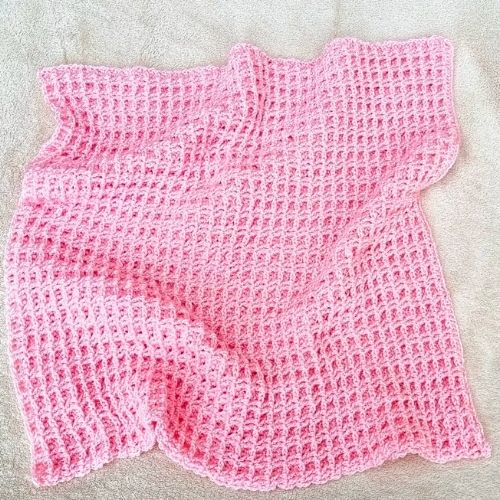
In general, blankets don’t need to be blocked. Most crocheters employ acrylic or other synthetic fibers to create blankets. Synthetic fibers don’t hold the blocking shape well over time, making the extra effort pointless.
While most blanket projects don’t benefit enough from blocking to outweigh the required effort, some types of blankets are the exception:
1. Granny Squares
Of course, crocheters have been making stunning granny square blankets for decades without blocking, but the process of blocking the squares is a useful step.
In fact, some crocheters even have specific granny square blocking boards to ensure that each square comes out the same size.
This step ensures uniformity among the squares, both making the seaming process easier and lending a very smooth, professional look to the finished blanket.
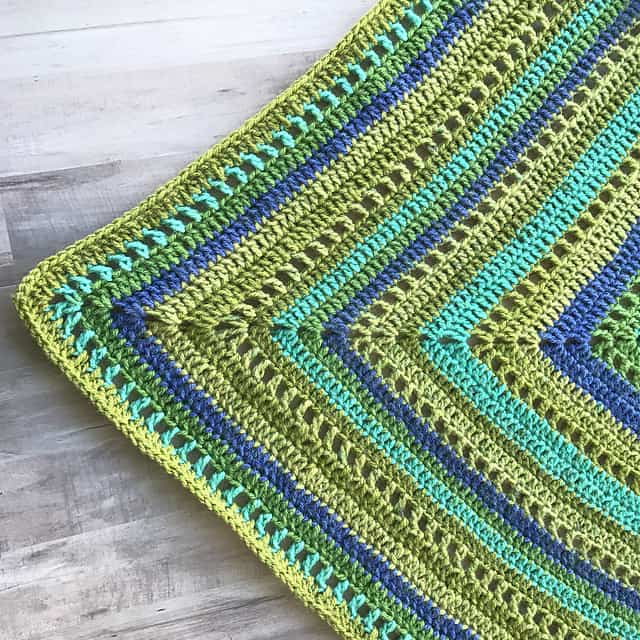
2. Lace Throws
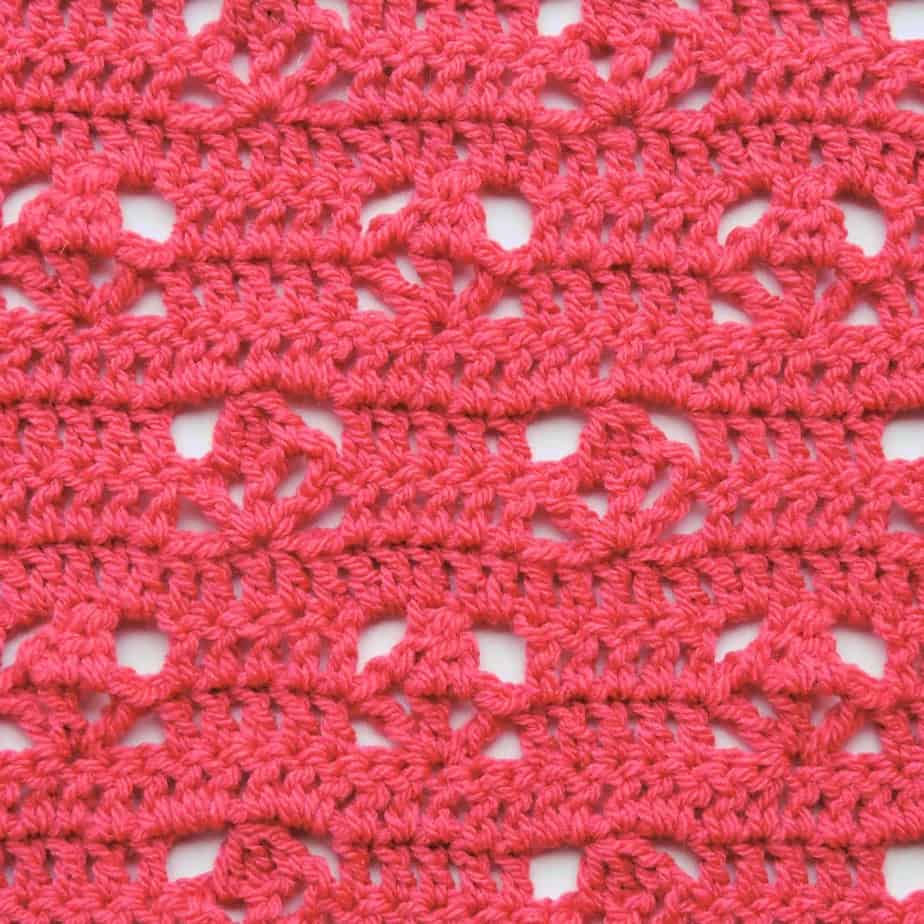
I love a light, lacy summer throw! Anything made with lacy stitches will benefit from blocking. The process of blocking will even out any tension issues that sometimes arise in lace stitches.
The blocking will also give the lace sections uniformity and openness, as well as a crisp look.
3. Natural Fibers
While most blankets are made with synthetic fibers, sometimes we branch out to natural fibers for an extra special project.
For instance, I recently made a Sophie’s Universe blanket using cotton yarn for my sister, who lives in Florida.
Blocking a blanket made with natural fibers like cotton will result in a smoother edge and a softer finished product. When I block something made with cotton, I use a gentle wash to soften the fibers.
Hats
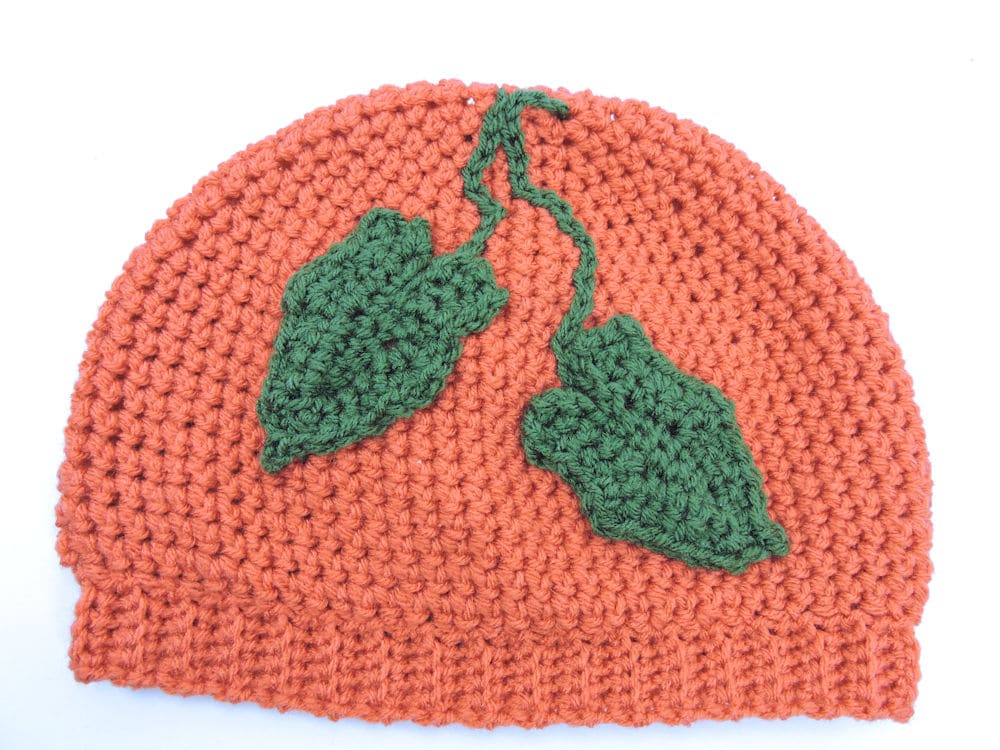
Hats rarely benefit from blocking enough to make the effort worth it, in my opinion. While I make hats from synthetic and natural fibers, I’ve never once blocked one.
If the tension on your finished hat varies in places or runs a little small, blocking can solve these issues. Blocking will even out any odd places, while stretching will open the stitches, making the final size a little bigger.
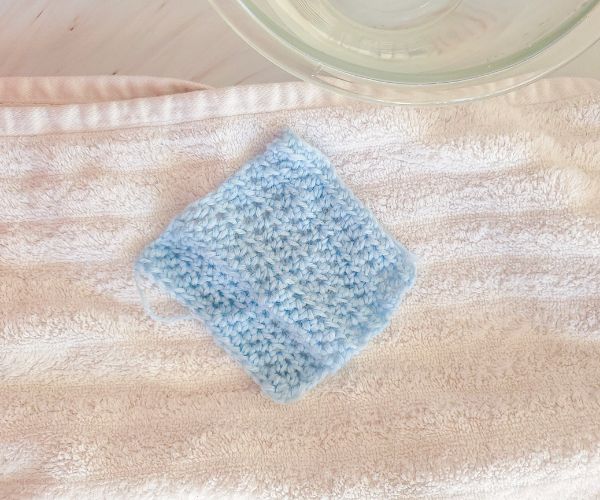
Housewares
Most housewares do not benefit from blocking enough to offset the trouble and effort. Things like washcloths, trivets, pillow covers, etc. are all intended to have thick, dense stitches. Blocking might actually open the stitches too much.
Scarves and Shawls

Scarves are often intended to be thick and cozy, so they don’t necessarily need blocking. Most shawl patterns benefit greatly from blocking since they often consist mainly of lace stitches.
Garments
Blocking affects the sizing of a crochet garment. Projects that are not blocked will run a little smaller while blocking will grow the project. Always check the pattern for instructions from the designer regarding blocking.
If you aren’t sure if your current garment project needs blocking, check these examples for tips!
Example 1: Acrylic Poncho

I recently finished a crocheted poncho using WeCrochet Brava Tweed. I do not plan to block this project because I used acrylic yarn. The yarn will not hold the final blocked shape for long, and I am already happy with the size. This project does not need blocking.
Example 2: Cotton Cardigan
I am in the process of finishing a lace stitch cotton cardigan for the spring. I fully intend to block this project. I’ve found that the stitches are much prettier after blocking.
Example 3: Wool Pullover Sweater
When I finished this wool pullover, I felt the final product was shorter than I expected. Blocking will add a couple inches of length to the stitch used, so I will block this project.
Types of Blocking
While blocking is a fairly straightforward process, you can use several different techniques to achieve the same effect. Just pick the one that works best for you.
Wet Blocking
Usually considered the “gold standard” of blocking, the wet blocking process is the longest and most involved.
First, hand wash in cool water. Gently squeeze out excess water without wringing the item.
Next, lay the item between two towels and press out as much water as possible. When satisfied with how much water you pressed out, lay the item flat on the blocking surface.
Pin in place with rust-proof straight pins. Leave to air dry.
Read our in-depth article – wet blocking.
Steam Blocking
Pin the dry project in place on your blocking surface. Steam the entire project using a garment steamer or by holding a steam iron above the project. Let cool. Remove from the pins.
Read our in-depth article – steam blocking.
Mist Blocking
A combination of the two methods above, start by pinning the dry project in place on your blocking surface. Spritz the item and press the water into the fibers. Allow to air dry.
Wet blocking will result in crisp edges and a firm shape. Steam blocking results in open stitches but softer edges. Mist blocking is similar to steam blocking, but takes longer to dry.
Read our in-depth article – mist blocking.
Does Blocking Require Special Tools?
The short answer is yes, and no. Blocking in its simplest form only requires straight pins since you can block a project on any surface you can insert pins into—like a mattress.
Read more about the best crochet blocking tools.
However, if you want to invest in blocking tools, check these out.
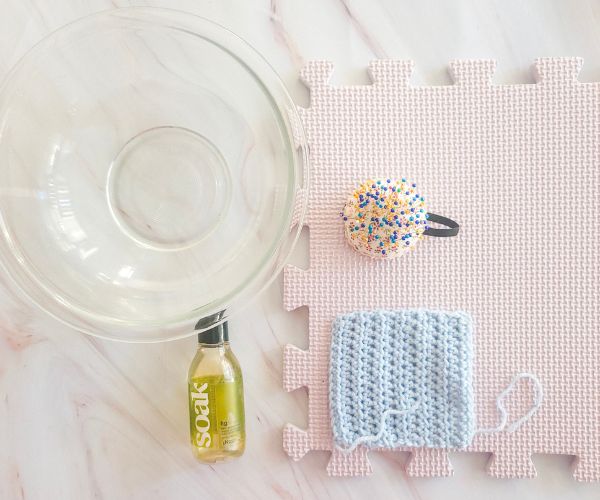
Blocking Mats
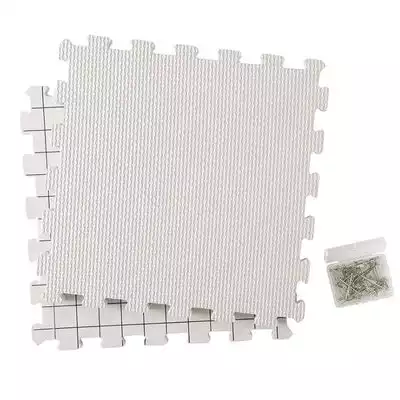
These mats can be used on any surface. They hold the project securely and promote airflow under the fabric for a faster dry time. Some blocking mats come with measured lines to ensure that your projects come out the exact size you want.
Blocking Wires

If your project has long, straight edges, you might not want to take the time to pin it every few stitches. Instead, weave a blocking wire along the edge and pin in just a few places. This process results in crisp, straight edges and less pinning.
Blocking Pins
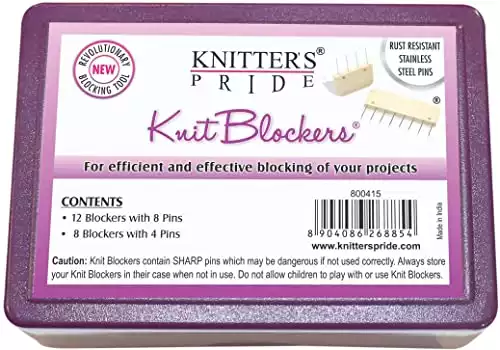
While any rust-proof straight pins will do the job, these blocking pins act as several pins at the same time, allowing you to block straight lines faster, especially if a blocking wire is too long for the edge you need to block.
Wool Wash
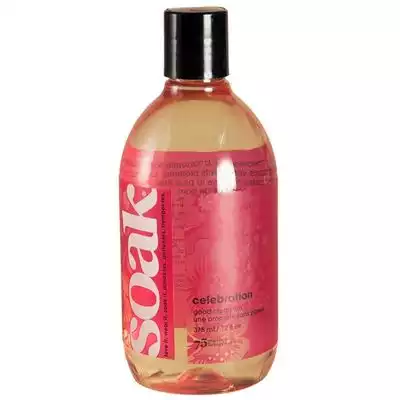
Many crocheters and knitters use a rinse-free wool wash or soak to remove oils, dirt, or pet dander that might have built up on the project during the making. These wool washes not only clean your project but also soften and lightly perfume it.
Sock Blockers
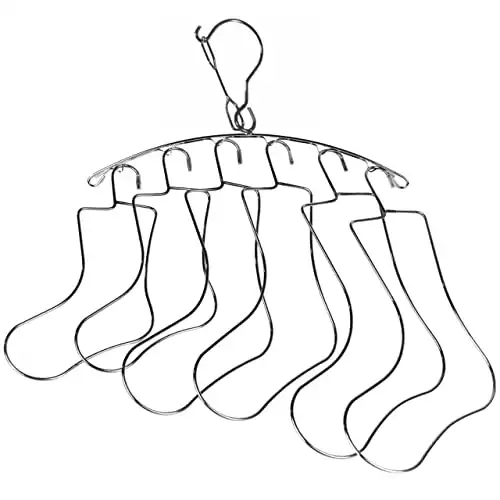
These specialized sock blockers help stretch your new socks to the correct size while promoting airflow for faster dry times.
Blocking, Yes or No?
Whether or not you block your projects, being informed about the process might help you in the future should you decide to give it a shot.
Blocking isn’t always necessary, but many of your projects will benefit from the added finishing touch.