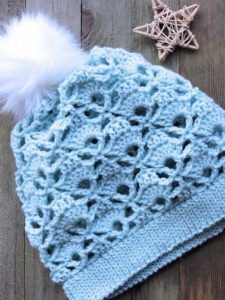
Crocheted hats are one of the most popular projects for beginners and experienced crocheters.
However, since every individual has a different sized head, getting the perfect fit can be challenging. This article will discuss how to get the best fit using a sizing chart.
Types of Hats
The two most popular styles of crocheted beanies are starting from the top and working down or starting from the bottom and working your way up.
Top-down hats

When hats are made from the top down, the beanie is increased in a circle until you reach the correct diameter.
Once the hat is sized right across the crown, stop increasing the circle and crochet in rounds until your hat is the height you need.
Bottom-up hats
Hats started at the brim and worked to the crown are made using the “bottom-up” technique.
The brim is constructed by working in back and forth rows and joined to form a circle. The body of the hat is crocheted directly onto the brim and worked in rounds until the correct height is achieved.
Some patterns call for decreasing a couple of rows before seaming up the top, but others do not.
Important Measurements
There are three essential measurements to pay attention to when making a hat: the crown, the height, and the brim length.
The Crown
The crown of the hat is the part that covers the very top of the wearer’s head. This measurement is most important when making a top-down hat.
The Height
The height of the hat measures from the bottom of the brim to the crown. Depending on the desired fit, the brim might fall at the top, middle, or bottom of the ear.
The Brim Length
The brim length of the hat should be roughly 1″ smaller than the total circumference of the wearer’s head.
Because most yarns have a certain amount of stretch, the smaller brim will fit snugly and stay in place. This measurement is most important for bottom-up hats.
How to Read a Chart
Most hat size charts include several columns: age/size, crown measurement, brim measurement, and height measurement.
To get the most accurate fit, measure the wearer’s head before starting your project. If you are unable to measure, a standard measurement usually works fine.
Age/Size
While most people’s heads vary in size widely, even across age groups, the flexibility of crocheted fabric makes it possible to standardize a chart in an age/size that will fit most people.
Find the size or age needed, then check across the row to find the correct measurements required to create the size.
Click to download PDF of this chart
Crown Measurement
The crown measurement is only included on hats made from the top down. Ideally, the hat’s crown will fit very closely to the head.
If the wearer has full hair or wants a slouchy fit, you may want to size up a little.
Brim Length Measurement
The brim length measurement is only included on hats made from the bottom up.
You will want the brim to be 1″-2″ smaller than the wearer’s head for a snug fit.
Some charts will list the exact measurement to make the brim, while others will list the usual size of the person’s head. Always double-check which measurement is given.
Hat Length Measurement
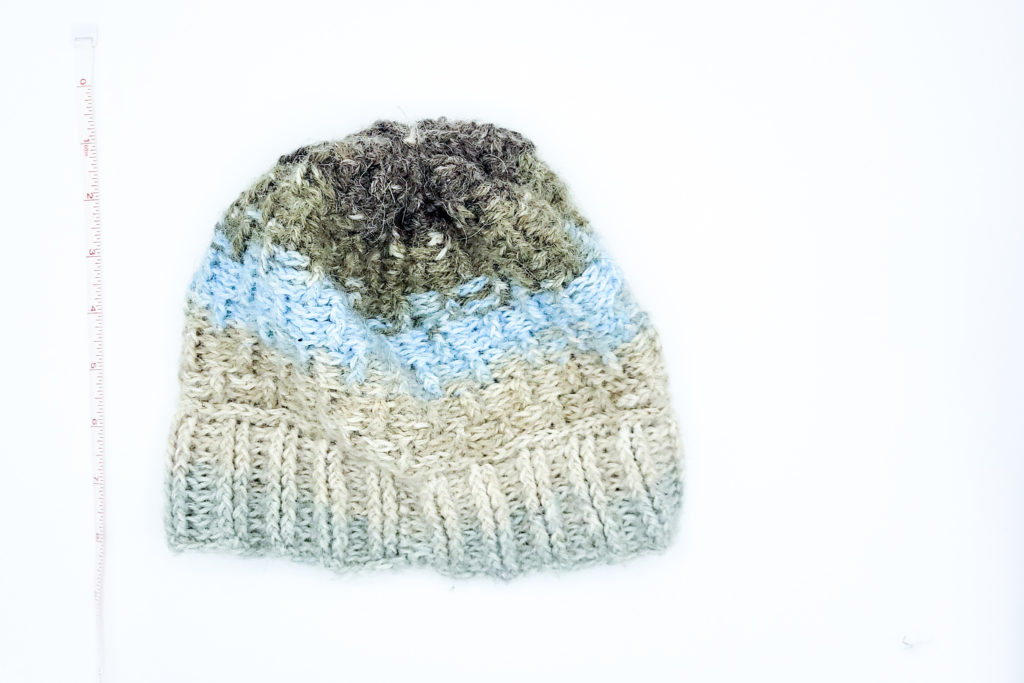
The hat length is the most customizable part of a crocheted hat. If you make the hat extra long from the top down, you can fold up the bottom to make a cozy, double-layered brim.
If you add length working from the bottom to the top, you will create a loose, slouchy hat instead of a fitted beanie.
Notes on Crown vs. Brim Measurements
The crown and brim measurements are the same or closely similar for most hats.
Since bottom-up construction hats are held on primarily by the snug brim, the crown measurement is not needed for a proper fit or look.
Vice versa is true for top-down hats. Since the crown fits snuggly, the brim will fit snugly as well.
Using a Pattern with a Size Chart
Several factors will affect the overall size of your hat when you make one using a pattern that includes a size chart:
- Yarn weight
- Gauge
- Measurements.
Yarn Weight
Always use the recommended yarn weight for a pattern, striving to stay close to the original.
Using the same yarn weight will help your stitches stay the correct size for the pattern to line up with the measurements.
Gauge
Also referred to as”tension,” gauge determines how tight or loose your stitches are.
Your pattern will list how many stitches and rows are in a particular measurement.
If you have too many stitches or rows, try a smaller hook. If you have too few, try a larger hook.
If you still cannot seem to make gauge, simply crochet with a tension that is comfortable to you and measure each part of the hat as you go.
Measurements
A quality pattern will include all the measurements you need to get an accurate size.
If making gauge is a struggle for you or you don’t want to take the time and yarn to test your gauge, you can disregard it entirely, as long as you measure your piece frequently to make sure it matches the pattern.
Keep in mind that if the pattern uses unique stitches, the overall texture of the hat might be different if you disregard gauge and work directly from measurements.
How to Measure
You will need a soft measuring tape to double-check the size of your hat. I love a retractable one since it stores so easily.
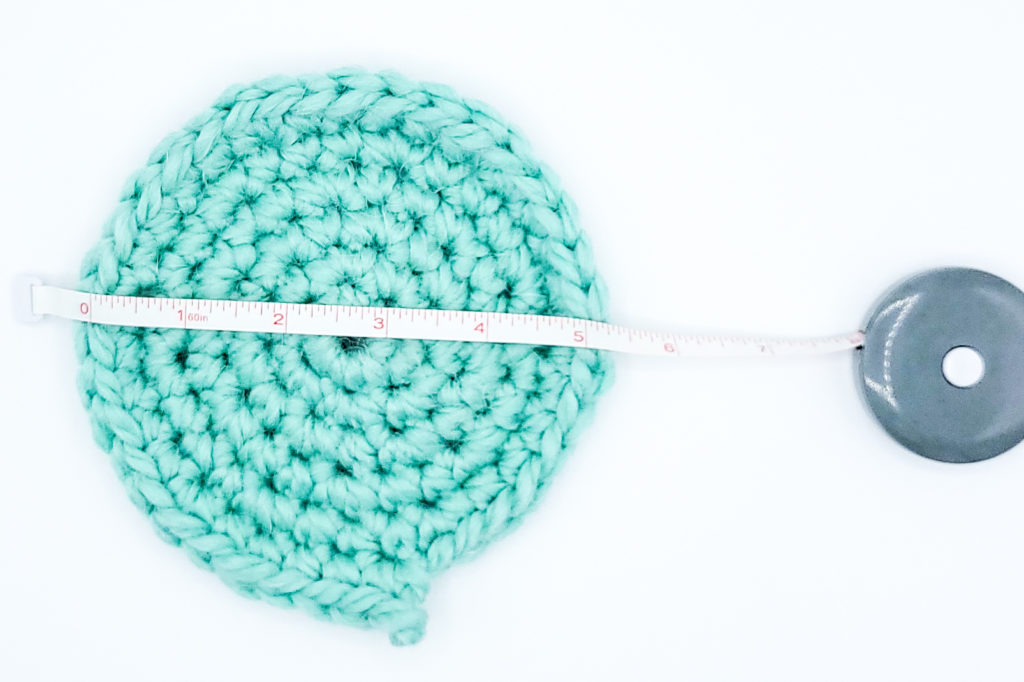
The Crown
When using the top-down hat technique, the most important measurement for a good fit is across the crown.
Make a circle, increasing every round until you have reached the correct measurement listed in the chart. Lay your measuring tape across the middle of the circle you have made to check if you have the right size.
The Brim
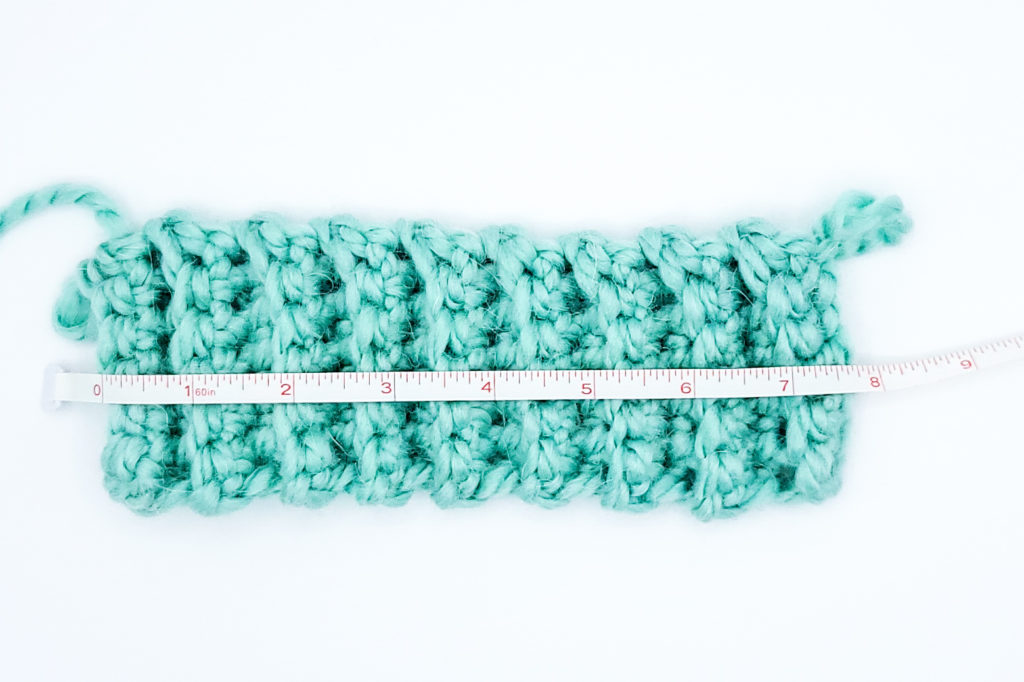
Start by making a brim using short, back-and-forth rows to form it.
Continue working these rows until the brim is the length listed on the chart.
Lay the brim flat and measure from the first row to the last to check the correct size. Fold the brim in half and seam the first row to the last. The rest of the hat is worked into the sides of the brim rows.
The Height
Regardless of which technique you use, measure the height of the hat to get the perfect fit.
You can customize the height to get a different look. You can add more rows for a slouchy fit or decrease the number of rows for a snug beanie. Measure the height from the top of the crown to the bottom of the brim.
Size Charts
Even though all heads tend to be different sizes, the general stretch of crocheted hats leaves room for variation when following a standard size chart.
Size Chart for Top-Down Hats
For a top-down hat, first, create the brim to the desired size, then crochet the hat to the needed height before fastening off and seaming the top.
Click to download PDFs of these charts
Size Chart for Bottom-Up Hats
For a bottom-up hat, first, crochet a circle the size of the crown, then continue working in non-increasing rounds until your hat measures the correct height.
Click to download PDFs of these charts
(Source: Rebekah Haas with thanks.)
Patterns to Practice
Are you ready to make your own custom hat? Practice with these patterns from CrochetKim
Top-Down Hats
Try the top-down technique to perfect it! Remember, focus on getting the crown the correct measurement before continuing.
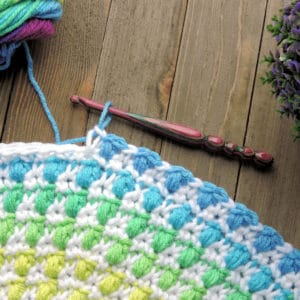
This classy pattern is perfect for testing out your colorwork skills in addition to your new sizing techniques. Add your own personal flair by using your two favorite colors.
This fun, two-color beanie plays around with adding height to your beanie to get a loose, slouchy fit. Picking two complimenting or contrasting colors will set your hat apart from others.
One Skein Stripes Classic Beanie
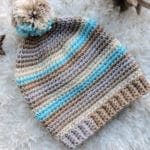
This is the most straightforward pattern to test your new knowledge of sizing since the pattern is made with fast stitches.
The striped detail on this pattern is produced by using a self-striping yarn, so you don’t need to weave in a lot of ends.
Bottom-up Hats
Focus on getting the brim measurement correct for a snug fit, then play around with the height to make the perfect hat.
Skyline Snapdragon Slouchy Beanie
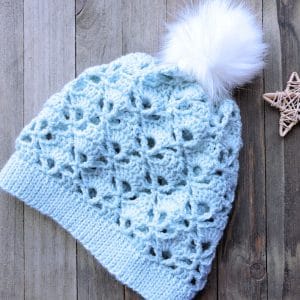
This delicate lace beanie is perfect for warmer weather, especially when made with cotton or bamboo yarn.
Remember, this pattern has a 10 stitch repeat, so aim for your brim rows to be in increments of 10 for the rest of the pattern to work easily.
Pebbles Beanie – by Rebekah Haas
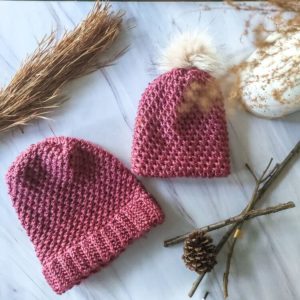
This simple hat pattern is easily customized. As long as your brim rows are an even number, the body of the hat will work up quickly without trouble.
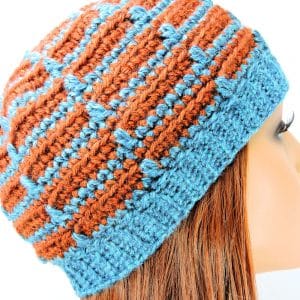
Buddy Basketweave Beanie – by Rebekah Haas
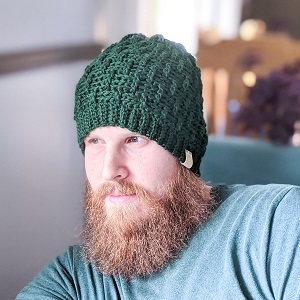
This beanie features a subtle texture that looks stunning on both solid or self-striping yarns and is easily customizable.
Make it Your Own!
With a crochet hat size chart and an understanding of how to use it, you can easily customize almost any crochet hat pattern to fit perfectly. The only question left is”what hat will you make first”