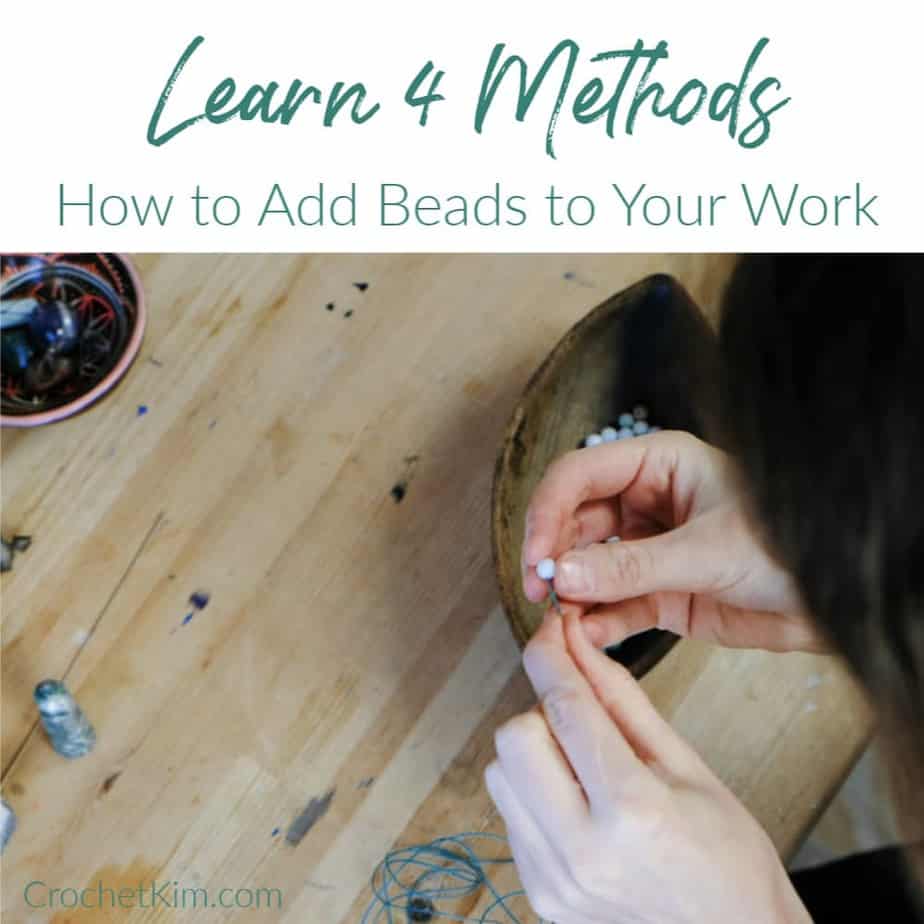
There are several different methods of adding beads to your crochet work. Although there are many more ways to add beads to a project, these are the four most common.
- Sewing on the beads after completion
- Using a pre-strung bead product, crochet directly onto it
- Pre-string the beads and insert them prior to completion of a stitch
- Work in the bead-as-you-go method
Sew On Beads After Completion
The first method is fairly obvious. You would simply use a needle and coordinating or invisible thread to sew on beads where you would like them in your work.
The benefit of sewing on beads is that you can use very delicate beads. With other methods of beading, at the very least, the yarn needs to fit through the center of the bead. With sewing, you can use the tiniest of beads to create your beautiful heirloom.
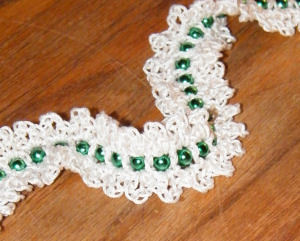
Crochet Directly On Pre-String Beads
The second method is also fairly obvious. You purchase a strand of beads, like Mardi Gras beads perhaps and crochet right onto the strand.
Pre-String Beads
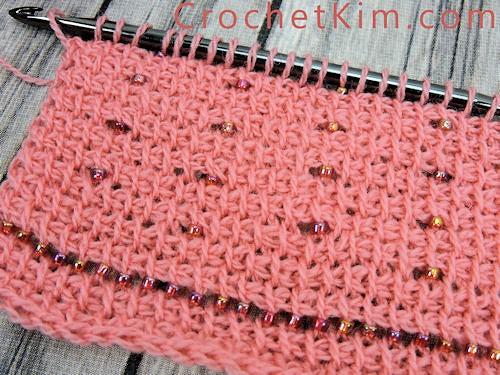
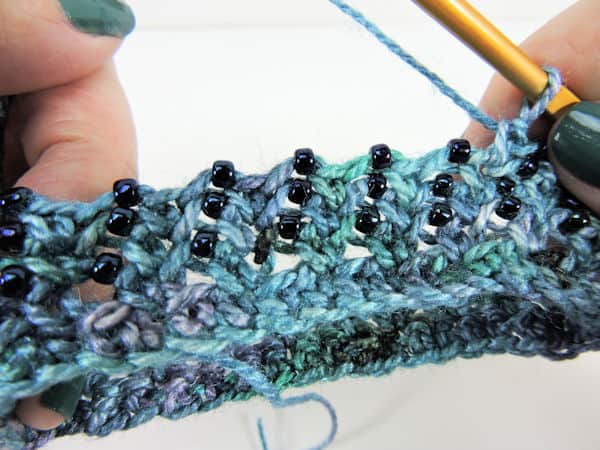
Now, let’s take a look at the third method. This involves some preparation before you can begin crocheting.
It’s very simple. You just string the beads.
You can use a needle, a beading needle, dental floss or my favorite method: dip the end of the yarn in some melted candle wax and shape it into a needle as the wax dries.
Note that I like to do a different version of single crochet with this method. With a regular single crochet, the bead lands squarely in the back of the stitch. This could be used if you are working on the Wrong Side of your fabric, of course, but it isn’t quite as pretty when you’re working on the Right Side of your work.
Some words of caution with this method: Check your yarn or thread to ensure that you don’t have any manufacturer’s joins/knots. You don’t want to string a lot of beads and then discover that you can’t scoot them along because there’s a knot.
Also, only use this method if your yarn or thread can handle it. If you’re using a delicate yarn, for instance, you’re going to have to use a different method, like the last method below.
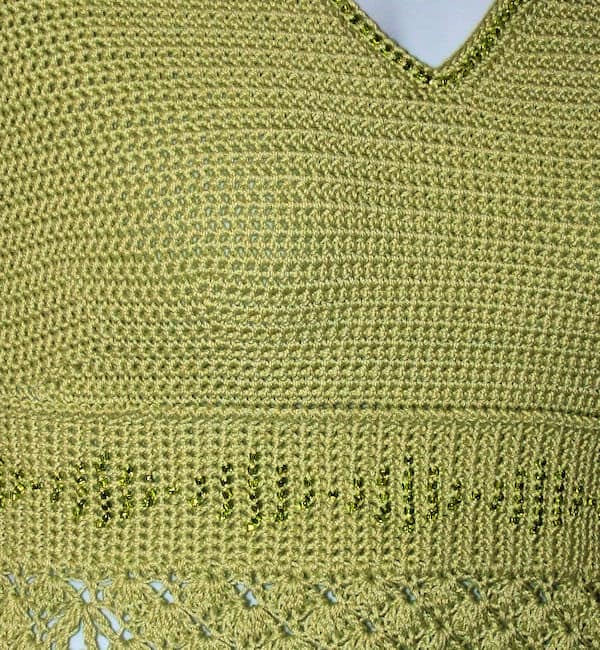
Work In The Beads As You Go
The last method is something that I use when I’m working with a bunch of beads or I want to randomly place the beads or I’m working with a delicate fiber that wouldn’t stand up to beads being pushed and pulled along the strand. Delicate fibers can be damaged by the the pre-stringing.
For this method, you remove the working loop from your hook and place a bead on the loop with a crochet hook that will fit through the hole in your bed.
I hope you enjoy these tutorials and you will soon have an opportunity to add some bling to your crochet projects!
Enjoy!