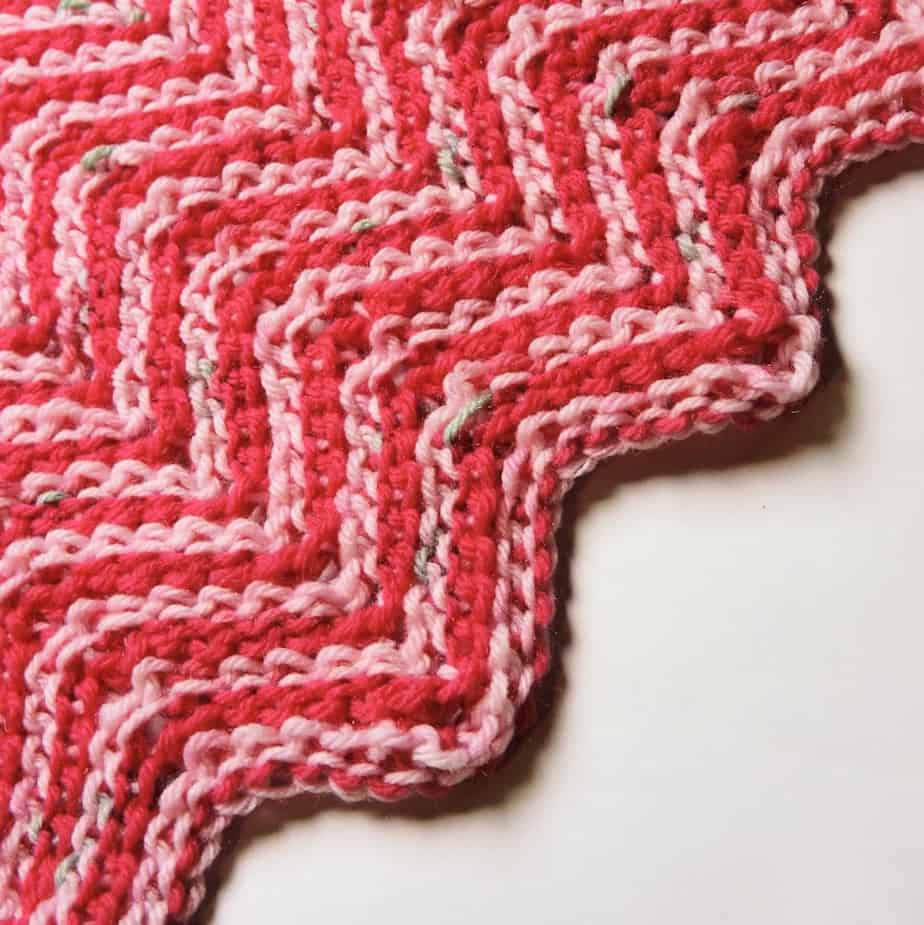
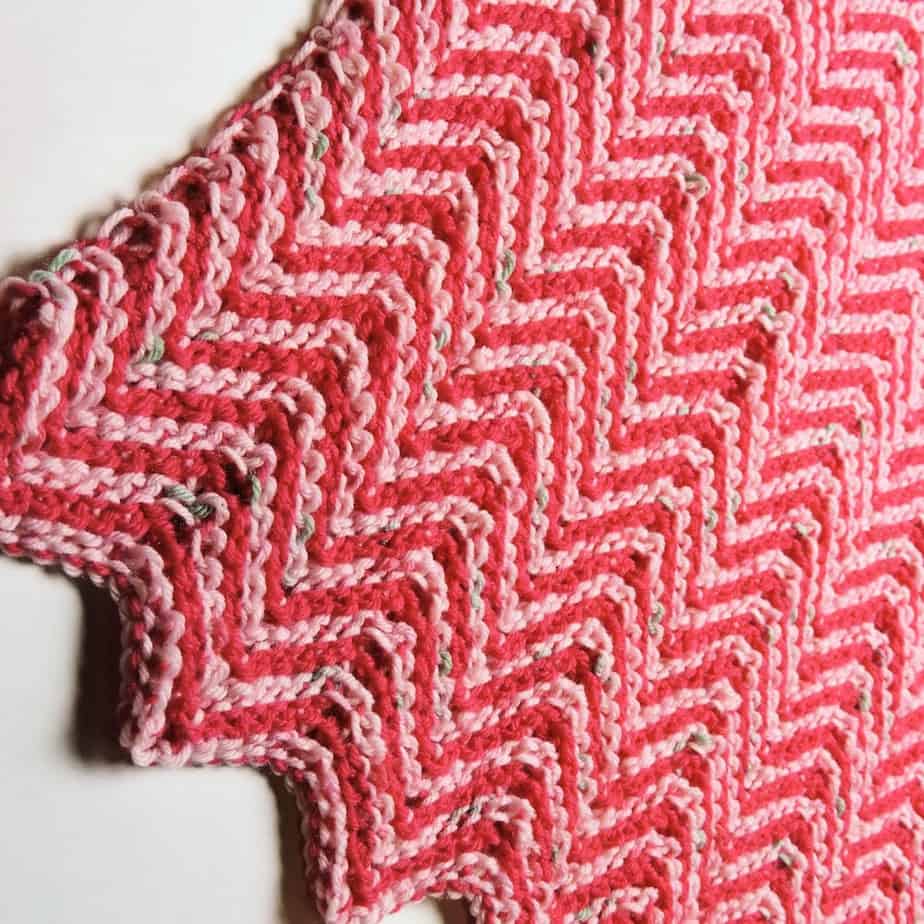
How about a fun faux knit look ripple baby blanket?
I’ve used two coordinating colors: one is my favorite shade of red and the other is a speckled pink.
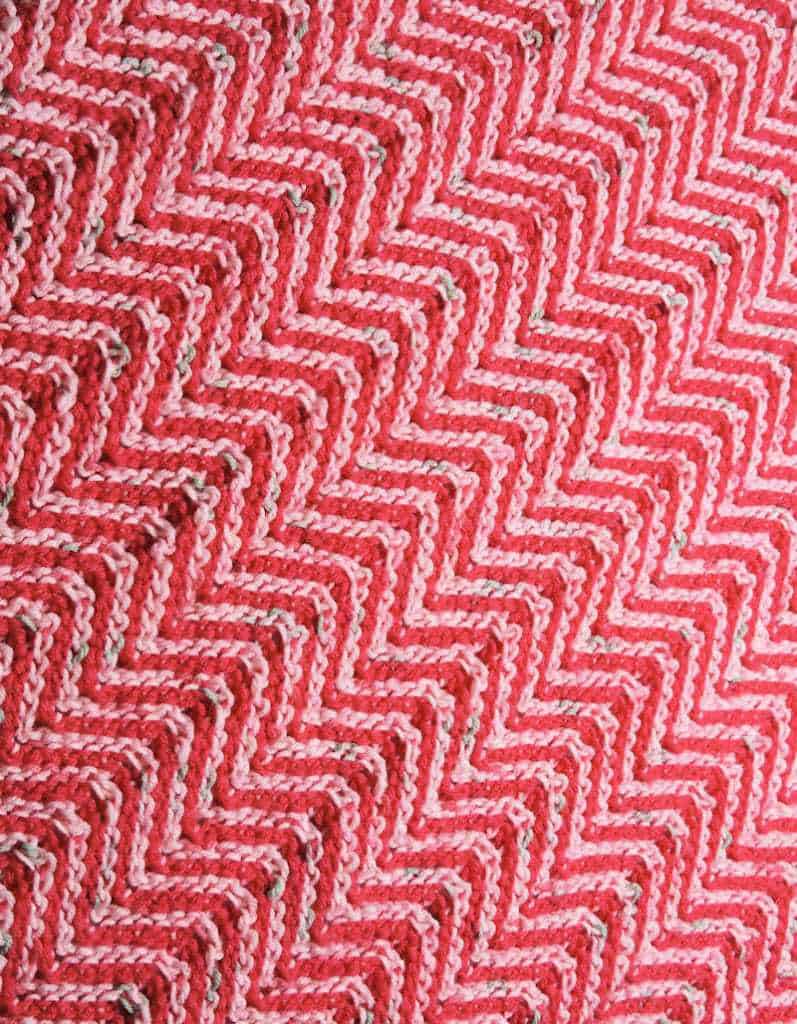
This look of garter stitch is made by using two different stitches and a double ended hook. The yarn is worked continuously so you’ll only cut when the yarn runs out, not every row. I love the way the two yarns look so perfect together.
Ripple Candy Baby Blanket
designed by Kim Guzman © Apr. 2016
Please read my Terms of Use
Technique: Double-Ended Tunisian
Finished Size
Carriage Cover: 25 x 27 (point to point measurement)
Baby Blanket: 40 x 42 (point to point measurement)
Carriage Cover instruction is represented by the first number in the pattern; baby blanket instruction is represented by the number in parenthesis.
Materials
- A: Hobby Lobby Baby Bee Sweet Delights (60% acrylic/40% polyamide) (377 yds per 4 oz ball): 1 (3) skains of baby red
- B: Hobby Lobby Baby Bee Sweet Delights Prints (60% acrylic/40% polyamide) (377 yds per 4 oz ball): 1 (3) skeins of pinkalicious
- Double-Ended Tunisian Crochet Hook Size: 7mm (or hook necessary to meet gauge)
- Yarn needle (for weaving ends)
For the carriage size, I was able to fit all loops on a 14″ hook but I had to watch the end to ensure the loops didn’t fall off. You can choose to use a cabled double-ended hook or you can alternatively pull up and close loops in sections across a row (see Notes). That is the beauty of working with a double-ended hook. You can use any length of hook to create any width. Unlike regular Tunisian crochet, you aren’t limited to the length of hook.
Gauge
In stitch pattern, 21 sts for 11 rows measures approximately 4″. Each ripple stitch repeat measures about 2.5″ when worked to gauge.
Skill Level
The stitches and stitch pattern aren’t especially difficult for someone familiar with Tunisian crochet. The entire project does require patience. It’s not something you can just breeze through at a fast clip.
Special Stitch
Tunisian Simple Stitch (tss): Insert hook in a side-to-side motion under the front vertical bar, yarn over, pull loop through. Right-Handed Video | Left-Handed Video
Tunisian Simple Stitch Two Together (tss2tog): Insert hook in a side-to-side motion under two front vertical bars simultaneously, yarn over, pull loop through both. Right-Handed Video | Left-Handed Video
Tunisian Reverse Stitch (trs): Always working from back of fabric, insert hook in a side-to-side motion under the back vertical bar, yarn over, pull loop through. Right-Handed Video | Left-Handed Video
Tunisian Reverse Stitch Two Together (trs2tog): Always working from back of fabric, insert hook in a side-to-side motion under two back vertical bars simultaneously, yarn over, pull loop through both. Right-Handed Video | Left-Handed Video
Puff (puff): Stitch is worked as for simple stitch for simple stitch rows or reverse stitch for reverse stitch rows. Insert hook as indicated, yarn over, pull loop through, yarn over, insert hook as indicated in same stitch, yarn over, pull loop through. This stitch creates three loops on hook.
It’s really easy to bury the next stitch after working the Puff Stitch. I had to pinch the next stitch with my non-hook hand to maintain its height, especially on the Reverse Stitch rows.

Notes
When turning back and forth to change balls of yarn, watch which direction you are turning the hook so your yarn doesn’t become tangled.
Normally when working in Tunisian crochet, you will stitch the last stitch under two bars to keep an even edge. This isn’t really necessary in double-ended Tunisian and I don’t recommend it for this project. It made the edges pull in too much. It is recommended that you only work under one bar like the rest of the stitches for this project.
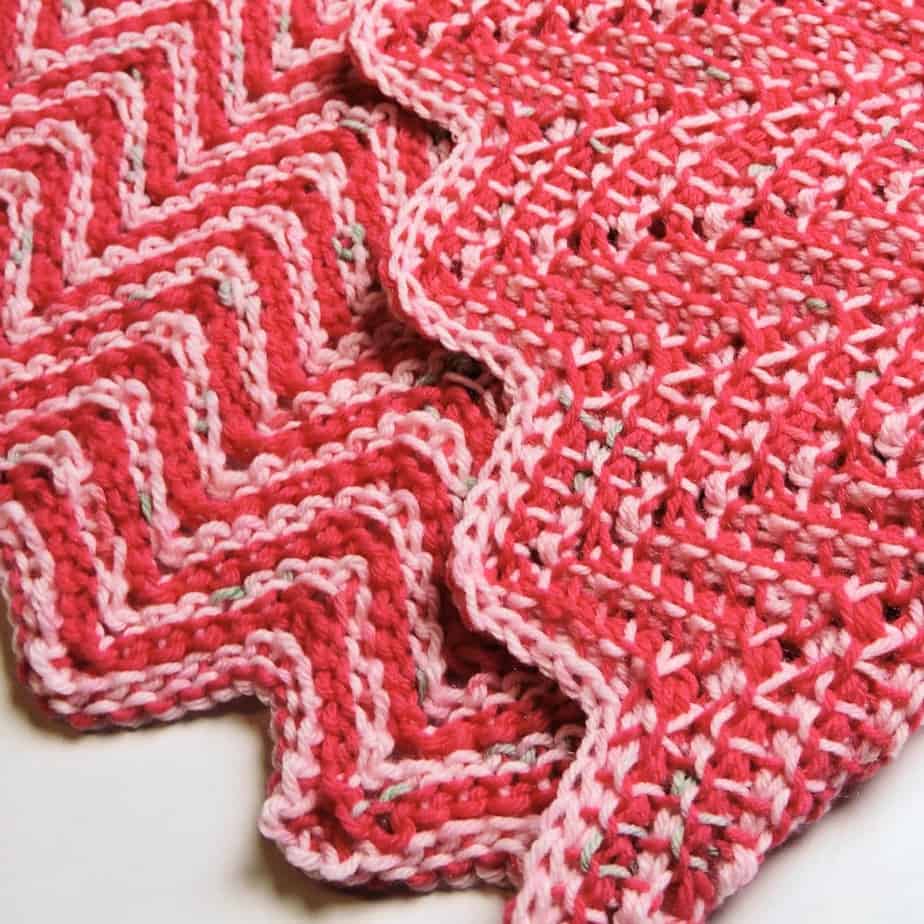
This project is fully reversible. It has a completely different look on each side.
Managing loops: While working with the double-ended hook, you may find that you have too many loops on your hook at one time for the project to be manageable. In this instance, pull up as many loops as are comfortable for you (you DO NOT have to complete the row). Turn your hook over and close all the loops except for the last four or five. Turn your hook back over and continue pulling up loops. Repeat this process as necessary to complete the row. If you would like to see this in action, I have a video for a different stitch pattern that shows how to work in sections to get across the row. (view video at minute 10:12) Right-Handed Video | Left-Handed Video
Adding New Skeins: Always join a new skein of yarn at the beginning or ending of a row for ease in weaving them in later.
Stitch Multiple
To increase or decrease the width of the project, the stitch multiple is 13, plus 13.
Instructions
Row 1:
A: With A, ch 130 (208), sk first ch, *insert hook in next ch, yo, pull lp through, rep from * across, drop A, turn hook 180 degrees to begin working from the opposite side: 130 (208) lps on hook.
B: With B, yo, pull through 1 lp on hook, *yo, pull through 2 lps on hook, rep from * across: 1 lp remaining on hook (counts as first st of next row here and throughout).
Row 2:
A: Still with B, sk first vertical bar, tss2tog, 3 tss, *puff worked as for tss, 4 tss, 2 tss2tog, 4 tss, rep from * to last 7 sts, puff, 3 tss, tss2tog, tss in last st, drop B, turn hook 180 degrees to begin working from the opposite side.
B: With A, yo, pull through 1 lp on hook, *yo, pull through 2 lps on hook, rep from * across.
Row 3:
A: Still with A, sk first vertical bar, trs2tog, 3 trs, *puff worked as for trs, 4 trs, 2 trs2tog, 4 trs, rep rom * to last 7 sts, puff, 3 trs, trs2tog, trs in last st, drop A, turn hook 180 degrees to begin working from the opposite side.
B: With B, yo, pull through 1 lp on hook, *yo, pull through 2 lps on hook, rep from * across.
Rows 4 – 71 (123): Rep rows 2-3.
Final row: Still with B, sk first vertical bar, insert hook as for tss, yarn over, pull loop through stitch and through loop on hook (slip stitch made), working as for tss throughout, slip stitch across to end. Fasten off.
Finishing
With yarn needle, weave in all loose ends carefully.