I wanted the perfect baby blanket for the long striping cake yarn and I decided on the seamless, mitered square. It was so much fun!
Because I didn’t want any abrupt color changes, I worked from the inside of the cake from the first one and from the outside of the cake on the next one.
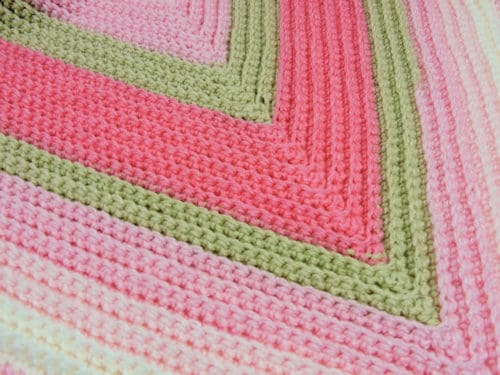
I love how much it varied the striping heights making it look even more random.
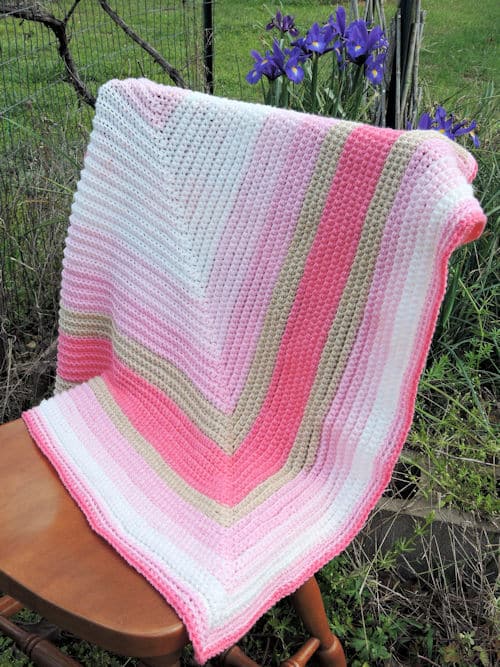
Straight to the Heart Baby Blanket
designed by Kim Guzman © Mar. 2017
Please read my Terms of Use
Technique: Regular Crochet
Finished size
33″ x 33″
Materials
- Ice Yarns Cakes Baby (100% acrylic, 349 yds per 150g): 3 skeins or approx. 1000 yards required
- Suggested hook size: J-10 [6mm]
- Split ring stitch marker (or small piece of scrap yarn)
- Needle (for weaving ends)
*Yarn Note: Although this yarn is classified as a size 3 DK weight, it works up more like light worsted or “true worsted” for me.
Notes
This project is made in one big mitered square. It doesn’t start in the middle and work out, in-the-round. It is made in rows.

If you prefer, you can work the entire project in a solid color for a wonderfully textured blanket. Or, if you like, you can randomly change colors instead of using a gradient yarn.
This entire project is worked in back loops throughout. When working the last stitch of a row in back loop only, I prefer to make that last stitch in both loops to retain tension. If your last stitch looks a bit loopy on the edge, try this as well.
The center decrease single crochet (sc3tog) is marked on each row. Move the stitch marker up as work progresses. At some point, you will probably be able to immediately see this stitch and the stitch marker may no longer be necessary.
Although the first row is quite long, each subsequent row reduces by two stitches until you are left with only three stitches. If you prefer to work your foundation row with foundation single crochet, it will work just as well.
Because I didn’t want there to be too much of a “jog” between colors of the last color of a cake and the first color of the next cake, I worked from inside out of the first cake, from outside in on the second cake and from inside out on the last cake. When I made the final round of the trim, I cut out an entire section of color so I could start and end the round with the same color.
Skills
This is perhaps one of the easiest blanket designs I have ever done and is suitable for a beginner. It’s just important to realize that, as a beginner, you probably have a tight tension and this blanket is worked at a loose tension. You may need to move up in hook size to meet the same tension.
Gauge
In stitch pattern, 13 sc for 13 rows measures 4″
Special Stitches
Single Crochet 3 Together (sc3tog): [Insert hook in next stitch, yarn over, pull loop through] 3 times, yarn over, pull through 4 loops on hook.
Crochet Pattern Instructions
Row 1: Ch 208, sk first ch, 102 sc, sc3tog (across 3 chs), mark this stitch with stitch marker, 102 sc, turn: 205 sc.
Row 2: Ch 1, working in back loops only here and throughout, sc across to the sc before marked stitch, sc3tog (across 3 sc), sc to end, turn: 203 sc.
Rows 3-102: Rep row 2.
Row 103: Ch 1, sc3tog (across the last 3 sc), do not turn, do not cut off, begin working in rounds.
Trim
Round 1: Ch 1, 3 sc in same stitch, sc evenly around entire blanket, with 3 sc in each corner, sl st to first sc.
Rounds 2-3: Ch 1, working in back loops only here and throughout, sc in each sc, with 3 sc in each 2nd sc of a corner, sl st to first sc. Fasten off after final round.
Finishing
With yarn needle, weave in ends carefully.