A crocheter who learns to turn their work can make almost any pattern! The turning chain is a foundational technique that all crocheters must master.
In this article, we will look at the original turning chain as well as many alternatives, examining the pros and cons of each stitch style.
What Is a Turning Chain?
The turning chain is a simple stitch that sets the crocheter up to begin a new row of work. Some pattern writers consider the turning chain to be the first stitch in the row, while others don’t count it as part of the final stitch count.
The number of chains needed to turn a row is determined by the height of the first stitch in the row. Use the following image to determine the number of chains you need.
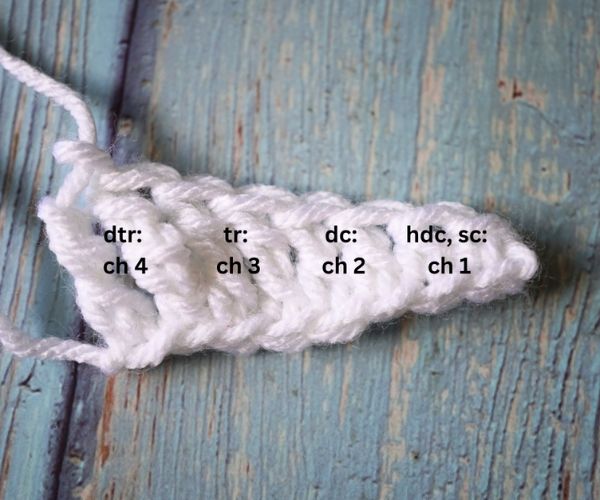
The Turning Chain Method
The basic turning chain is made in two different ways.
Counts as a Stitch
The first method counts the turning chain as the first stitch in the row. When using this method, chain for the height of the stitch plus one chain to imitate the two loops at the top of the stitch.
Do not work into the first stitch of the previous row, since the turning chain counts as that stitch. This method leaves gaps at the beginning of rows, which stretch open when an edging is added or if a seam is made along the edge.
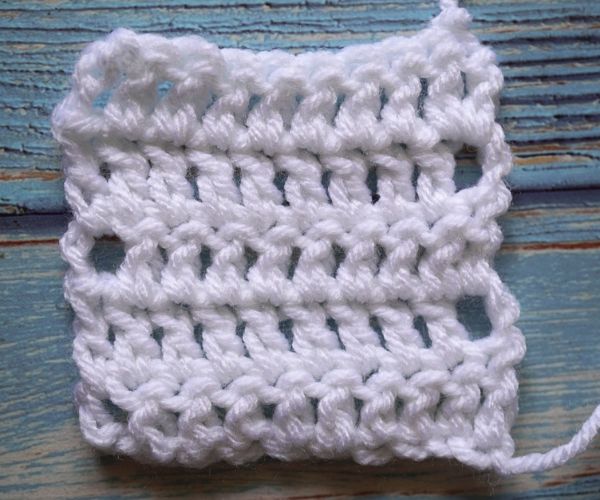
Doesn’t Count as a Stitch
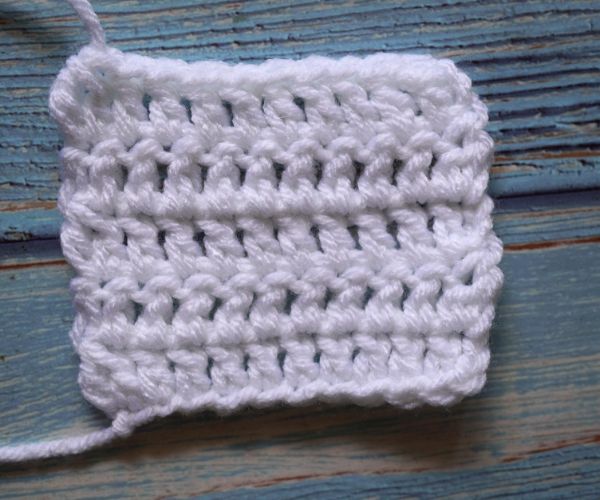
The second turning chain method does not count as the first stitch of the row. The goal is to use as few chains as possible to set up the next row, then create the first stitch normally.
Some designers will stretch out a single chain to the height needed, while others will chain only two or three, regardless of the height of the first stitch.
While this method removes the gaps found in the previous method, it creates a little bump in the edge at the beginning of each row. Blocking can help smooth out the bump, but it will remain uneven due to the bulk of the turning chain.
Turning Chain Alternatives
While the turning chain is the easiest way to begin a new row, many crocheters don’t like the bumpy and sometimes sloppy edge created by the turning chain. Since the chain is a different texture than the other stitches in a row, it creates an uneven look to the edge.
Crochet designers have experimented with many different alternatives to the traditional turning chain. Any turning method can be used with any crochet pattern as long as you remain consistent throughout the pattern.
Stitch Two Together
This method starts the same as the turning chain; that doesn’t count as a stitch. The crocheter chains two and works the first double crochet (or needed stitch) in the first stitch normally.
The difference with this method lies in how the crocheter finishes the row. Instead of ending the row with a standard stitch, work two double crochets together in the last stitch (dc2tog). Of course, this can apply to other heights of stitches, as well.
For instance, if using the treble crochet, start the row by chaining three and working a treble crochet in the first stitch. Finish the row by working a treble crochet two together (tr2tog) in the last stitch.
This method removes the odd bump at the beginning of the row found in the turning chain that doesn’t count as a stitch. With equal amounts of bulk at both the beginning and end of each row, the edge of the work is even. The added strength of working two stitches together in the last row also reinforces any seams along the edges.
This is my current favorite method for garments.
Read our two together stitch tutorial.
Chainless Starting Stitch
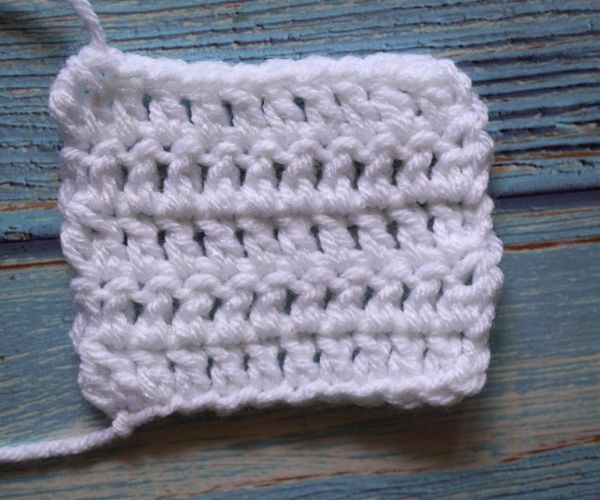
This method transforms the turning chain into the first stitch of the row, regardless of the height of the first stitch.
Create a chainless starting stitch by pulling up the turning chain higher than usual, wrap the hook behind it, pull up a loop, yarn over, and pull through both loops. This technique imitates the rest of the stitches in the row.
The chainless starting stitch creates a uniform edge without the added bulk found in the two-together method. However, this method is not without its struggles.
The motion used to create the stitch is backward from a traditional stitch, making it awkward for crocheters to learn, but the skill will be perfected with practice and time.
I also find this stitch is easily made too loose, leading to the gap found in the turning chain that counts as a stitch method, or made too tight, making it difficult to work into on the next row.
Read our chainless turning stitch tutorial.
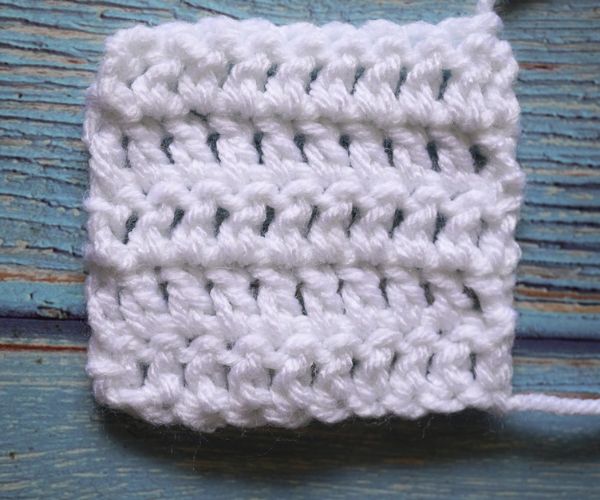
Stacked Single Crochets
Instead of using the turning chain, just start crocheting! The stacked single crochet method creates an easier and more consistent turning stitch than the chainless starting stitch method.
Without chaining, work a single crochet in the first stitch of the new row. Single crochet again into the leg of the stitch just made. The single crochets can be stacked by making a new single crochet in the leg of the previous single crochet to reach the height needed.
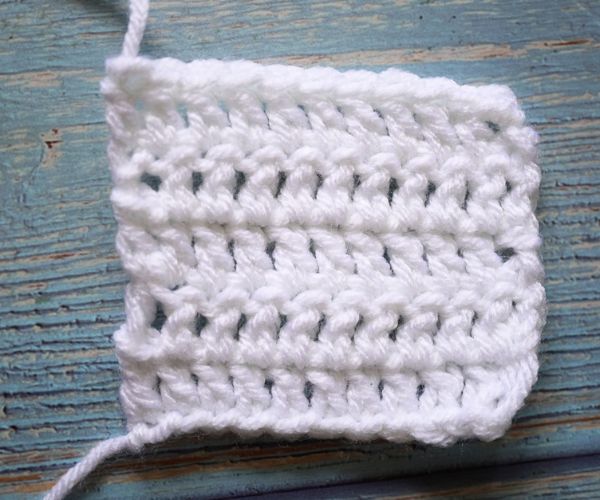
The stacked single crochet method is both easy and effective. I prefer this method for blankets and other items that will not be seamed. The stacked single crochets are almost indistinguishable from the other stitches in the row. They create neither a gap nor a bulge at the beginning of the rows.
Even without blocking, the stacked single crochets effectively create the straightest edge of any of these turning methods.
Read our stacked single crochet tutorial.
Learn a new method
While I prefer some turning methods to others, any of these turning methods effectively progress your projects.
If you’re unhappy with the edges of the method you currently use, experiment with some of the others. Maybe one will stand out as both comfortable to make and beautiful to your eyes. Which turning method will you try next?
Also read: Does it matter which way you turn your work in crochet
