Wet blocking a crocheted item gives your projects a clean, professional finish.
While this process is time-consuming, it’s a worthwhile endeavor for crocheted lace and most garment projects.
In this article, you will learn:
- What projects need to be wet blocked
- The tools needed for wet blocking
- What steps to follow for the best results
What Is Wet Blocking?
Wet blocking is the final finishing step for many crocheted projects. After soaking your project in water, it will be laid to air dry in the shape you desire. See this article for more general blocking information.
What Projects Need to Be Wet Blocked?
While not every crochet project needs to be wet blocked, some projects benefit immensely from this final step.
Lace
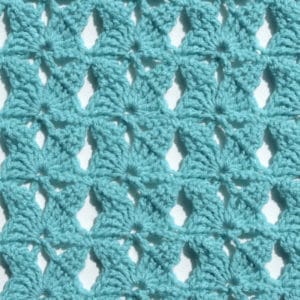
Crocheted lace, or projects that include large sections of open, lacy stitches, need to be wet blocked to allow the lacework to reach its full potential.
Initially, lacework can look messy or floppy with big gaps between the stitches. Wet blocking stretches each stitch into place, allowing the beauty of the design to blossom.
Garments
While not all garments must be blocked, many will benefit from the process. You can use the wet-blocking technique to make minor adjustments to sizing since the process opens up the stitches.
If your finished sweater is a little short, wet blocking can give you a little extra length. You can also use wet blocking to ensure that your finished garment is true to size by blocking it to specific measurements.
Projects with tension issues
Any projects with small tension issues will benefit from wet blocking. Perhaps you used several sizes of yarn in a single project, or your stitches were looser on one side than the other. Using the wet-blocking technique, you can adjust the openness of the stitches and even out the tension.
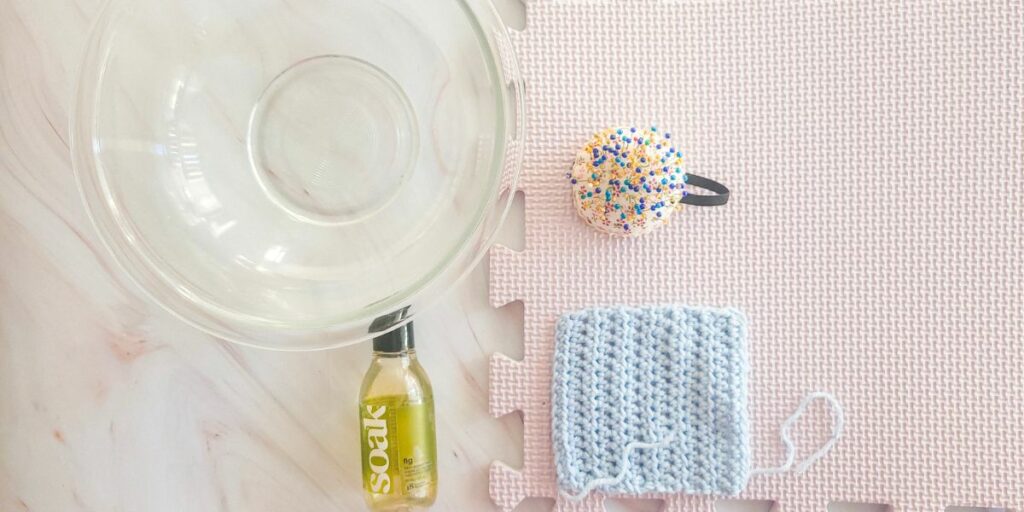
What Tools Do You Need for Wet Blocking?
The wet-blocking process requires a simple array of tools for the best results. Some tools are optional, but you’ll get the best outcome using the proper blocking tools.
Rust-Proof Straight Pins
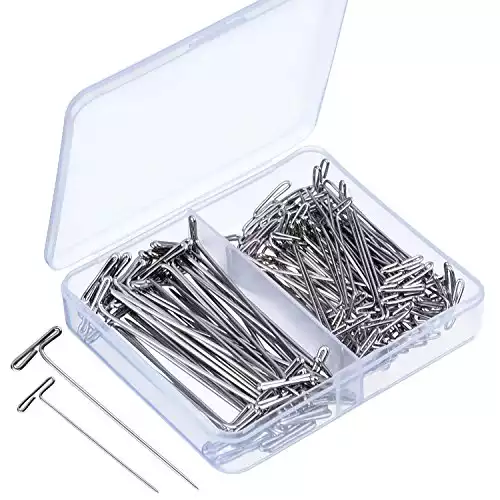
Since you use water to block your crochet project, you will need rust-proof pins to hold it in place and prevent damage to your item.
Blocking Mats
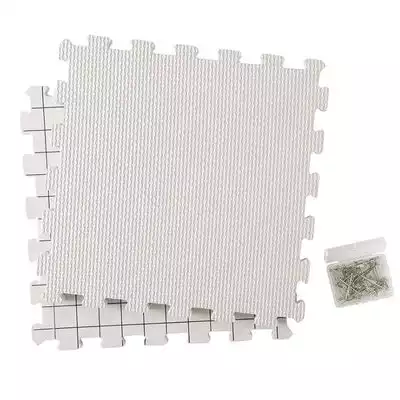
Blocking your project on these mats will allow them to dry faster. The mats are made from foam and promote airflow above and below the crocheted fabric.
Gentle Detergent
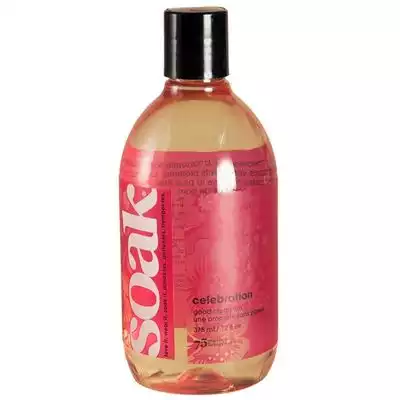
Since you need to immerse your project in water, adding a gentle detergent to the water will take care of cleaning your project, all in one step. Your crocheted project will come out clean of any oils or dirt it might have accumulated as you made it.
Clean Towel
Any large, clean towel will do. Some extra large projects might require two or three towels to remove excess water from the crocheted fabric.
Steps to Follow for Wet Blocking
Follow these simple steps to wet block your finished crocheted item:
Step 1: Fully Immerse
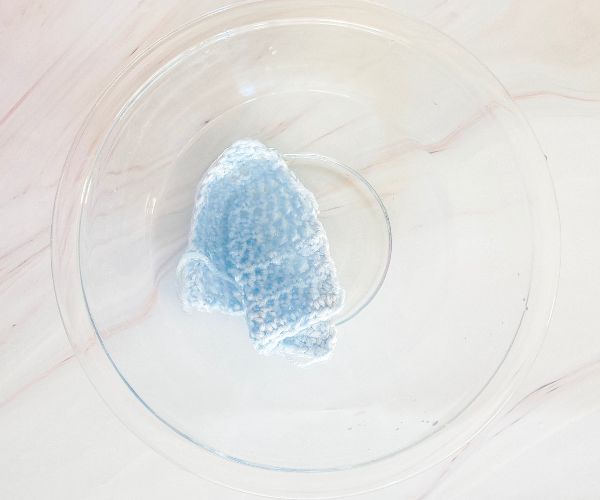
After you have secured your ends, immerse your finished project in a clean basin of room-temperature water.
Optional: add a few drops of gentle detergent to cleanse your project during this step. Gently squeeze your project to encourage the water to penetrate the fibers fully. Allow to soak for 5–10 minutes.
Step 2: Remove Excess Water
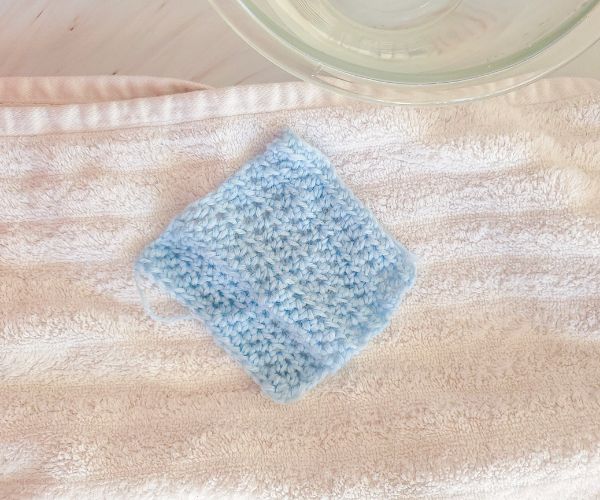
As you remove the project from the water, gently squeeze out the excess. Do not wring the project or twist it tightly, since this action will stretch the stitches disproportionately.
Lay the project on the open towel and roll it into a sausage. Press firmly on the sausage to squeeze even more water from your project.
Step 3: Prepare the Blocking Surface
If you’re using blocking mats, lay them out in a format that will provide enough area for the project to be fully laid out. If you are blocking on a mattress, cover the bed with towels or a thick blanket. Keep in mind blocking on a mattress will result in a longer drying time.
Step 4: Shape the Project
Unroll your project from the towel and lay it flat on your prepared blocking surface. Stretch the crocheted fabric to the size and shape you prefer.
Some blocking mats have printed measurements on them, but you may need to use a tape measure if you need accurate shapes.
Step 5: Pin and Re-pin
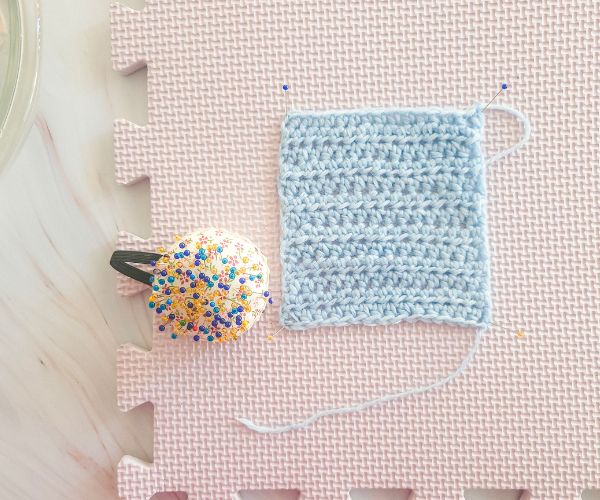
Once your project is in the shape you want, begin pinning it in place every few stitches. You might find that once you have completely pinned the project, the stitches are not as open as you prefer.
Or maybe you struggled to get the project to the correct size. Go back around the project, gently stretching each side and pinning in place until you have achieved the sizing you need.
Step 6: Dry
Leave your project alone to dry. The dry time will vary depending on the fiber content, the thickness of the yarn, and the surface you blocked on. To speed up the drying process, you can set a fan to blow on your work or use a hair dryer on low heat.
Step 7: Remove From the Blocking Surface
Once the project is fully dry, remove the pins and shake it out! The blocking process is complete!
Wet Blocking Pro Tips
For best results, pin one corner then measure the correct distance to the next corner and pin it as well. Pin all four corners before pinning the sides.
Follow the same steps when pinning something round. Select a spot on the edge for the first pin, then place the second pin on the opposite side of the circle to create the diameter of the project. Place two more pins to form quadrants, then continue adding pins until you reach the desired shape.
Most blocked projects will need to be blocked after each washing. For home decor projects that don’t need frequent washing, like lace doilies, adding a little fabric stiffener to the water will help the lace hold its open blocked shape much longer. You can also use fabric stiffener for crocheted lace jewelry.