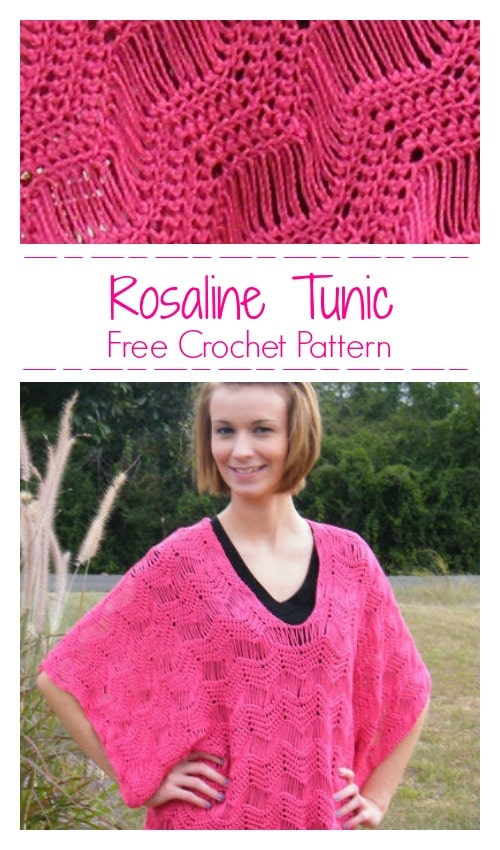
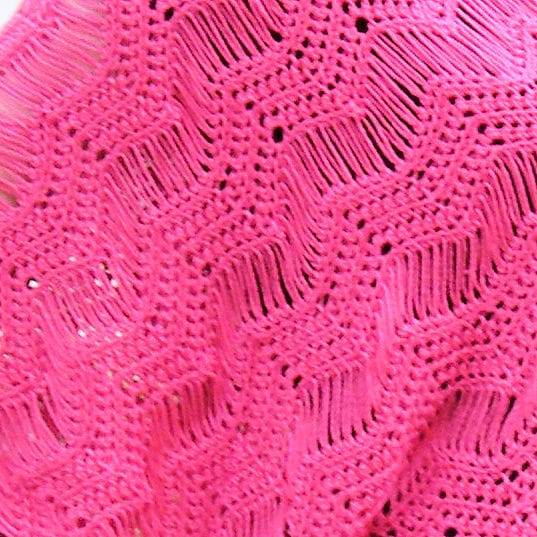
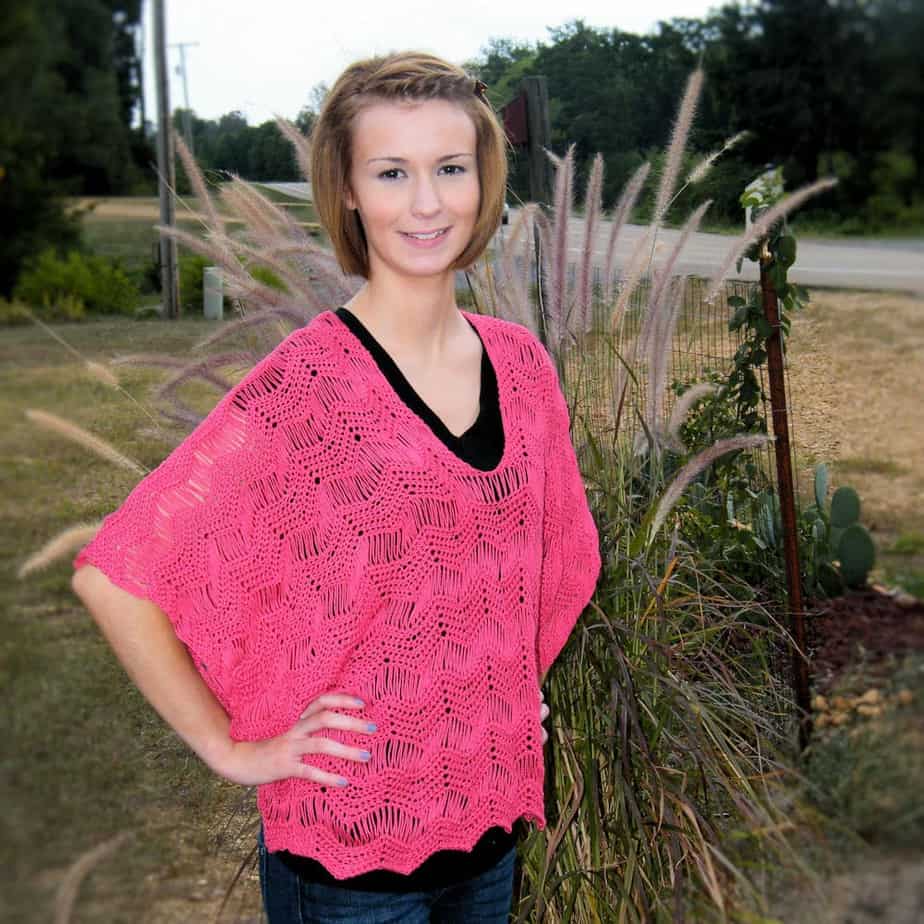
Rosaline is made in a gorgeous all-over drop stitch ripple with so little shaping that you’ll be surprised that you’re finished!
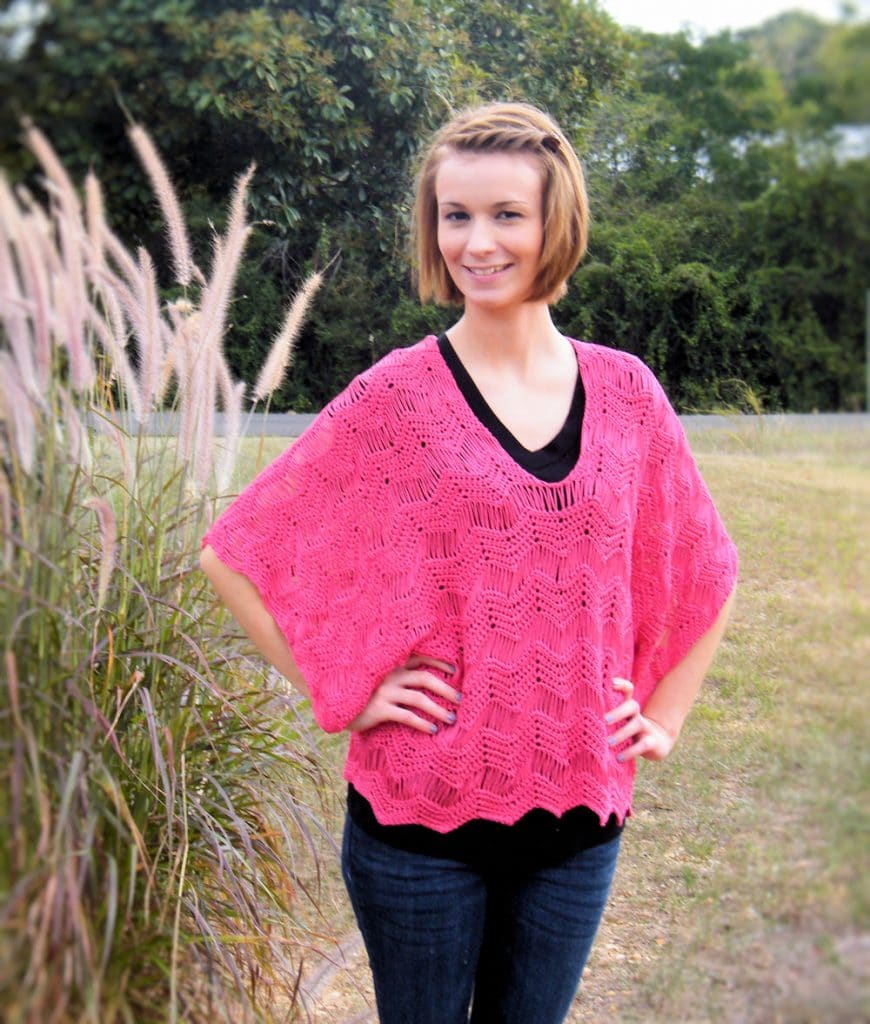
Rosaline is designed to be worn over a camisole, bathing suit or tank in warmer months. Or, it can be worn over a warmer long-sleeve top in the colder months.
Rosaline Drop Stitch Lace Tunic
designed by Kim Guzman © Mar. 2015
Please read my Terms of Use
Technique: Drop Stitch Crochet Variation of Broomstick Lace
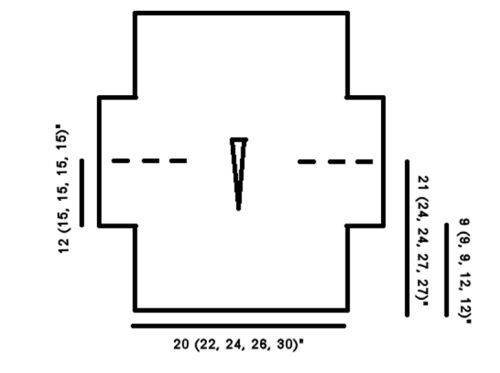
Finished Sizes
Small (Medium, Large, 1X, 2X). Model shown in size Small with approximately 6” positive ease. Garment is intended to be oversized with large kimono-style sleeves.
To Fit Bust Sizes
Up to 32-34” (36-38”, 40-42”, 44-46”, 48-50”). Since this is a tunic, remember to check hip measurements against schematic. It’s not much help for it to fit properly at the bust but be too tight at the hips.
Materials
- Louisa Harding Yarns’ Mulberry, 100% silk, 136 yards per 50g: 7 (9, 10, 13, 16) balls or 900 (1175, 1350, 1760, 2100) yds comparable yarn
- Suggested hook size: G-7 [4.5mm] (or size to obtain gauge)
- Broomstick pin (size 35 knitting needle)
- 2 split-ring stitch markers
- Yarn needle (for weaving ends)
Blocked Gauge
Due to the nature of this crocheted fabric, gauge is determined using straight single crochet.
Working in front lps only, 18.5 sc for 16 rows = 4”
Make a swatch large enough that you can measure the center 4”. Block it. Measure. Adjust your hook size until you reach my tension.
Abbreviations
ch=chain, lp(s)=loop(s), RS=right side, rep=repeat, sc=single crochet, sk=skip, st(s)=stitch(es), WS=wrong side
Pattern Notes
Due to the width of this project, it is possible that the number of loops will not fit satisfactorily on the broomstick pin (knitting needle) for some sizes. In this case, there are two options.
1. Pick up the number of loops that will fit, then continue picking up loops with the second knitting needle.
2. Pick up the number of loops that will fit, remove them to a stitch holder, cord or string temporarily. Then continue picking up loops across.
Video Support
You can find a video for this technique on my YouTube channel here, in both right- and left-handed versions.
Crochet Pattern Instructions
Stitch Pattern
Row 1 (RS): Ch indicated number (see Pattern Instructions below), sc in second ch from hook and in each of next 4 (5, 6, 5, 4) ch, *3 sc in next ch, sc in each of next 5 (6, 7, 6, 5), sk 2 ch, sc in each of next 5 (6, 7, 6, 5) ch, rep from * to last 6 (7, 8, 7, 6) ch, 3 sc in next ch, sc in each of next 5 (6, 7, 6, 5) ch, turn.
Row 2: Ch 1, working in front lps only, sk first sc, sc in each of next 5 (6, 7, 6, 5) sc, *3 sc in next sc, sc in each of next 5 (6, 7, 6, 5) sc, sk 2 sc, sc in each of next 5 (6, 7, 6, 5) sc, rep from * to last 7 (8, 9, 8, 7) sc, 3 sc in next sc, sc in each of next 4 (5, 6, 5, 4) sc, sk sc, sc in last sc, turn.
Rows 3-5: Rep row 2, except do not turn after final row.
Hold broomstick pin in non-hook hand with point facing to the right if right-handed and to the left if left-handed.
Row 6: Ch 1 and pull up on lp on hook, slip lp onto broomstick pin. (First lp counts as first st of row.) *Working in back lp only, insert hook in next sc, yo, pull lp through, ch 1, pull up on lp currently on hook, slip lp on broomstick pin, rep from * across.
Unlike typical broomstick lace, this instruction includes a chain 1. This chain 1 is placed below the tall loop to help stabilize it. The tall loop will slip around if the chain 1 is not placed. Slowly and carefully slide all the loops off the broomstick pin. Do not turn.
Row 7: Holding the first tall loop carefully, pull the working yarn up to the height of the loop, sl st into top of first loop, ch 1, sc in same first loop, *sc in each tall loop across, turn. For best results, flatten the tall loop from the bottom to ensure that it isn’t twisted before placing the single crochet.
Row 8: Rep row 2. Use special care not to count the beg ch of the prior row as a stitch.
Rows 9-11: Rep row 2, except do not turn after final row.
Rep rows 6-11 for pattern.
Begin
Garment is made from hem to hem, flat and in one piece.
Ch 103 (119, 135, 149, 155), begin working in Stitch Pattern—8 (8, 8, 10, 12) ripple repeats.
Continue in Stitch Pattern until 20 (20, 20, 26, 26) rows completed, ending on WS—3 (3, 3, 4, 4) 6-row repeats and 2 single crochet rows. Do not fasten off.
On each row 6 of stitch pattern—104 (120, 136, 150, 156) lps on broomstick pin.
Begin Sleeves
Row 1 (RS): Ch 26 (30, 34, 30, 26) (instead of normal ch-1), begin working in Stitch Pattern across ch and row—10 (10, 10, 12, 14) ripple repeats.
Row 2: Rep previous row—12 (12, 12, 14, 16) ripple repeats.
Continue in Stitch Pattern until 31 (31, 31, 37, 37) rows completed, ending on RS. On row 6 of stitch pattern—156 (180, 204, 210, 208) lps on broomstick pin.
Begin Neck
Count across 77 (89, 101, 104, 103) sts, place first stitch marker in next stitch, place second stitch marker in next stitch (center 2 sts marked)– 77 (89, 101, 104, 103) sts remaining.
Row 1 (WS): Work in Stitch Pattern up to first stitch marker, turn, leaving remaining sts unworked —6 (6, 6, 7, 8) ripple repeats.
Continue in Stitch Pattern until 55 (61, 61, 67, 67) rows completed from very beginning—9 (10, 10, 11, 11) 6-row repeats and 1 single crochet row. Fasten off.
Opposite Side of Neck
Returning to beginning of neck, sk the 2 marked sts and join yarn with sl st in next st, ch 1.
Continue in Stitch Pattern until 55 (61, 61, 67, 67) rows completed from very beginning—9 (10, 10, 11, 11) 6-row repeats and 1 single crochet row. Do not fasten off.
Close Neck
Row 1 (WS): Work in Stitch Pattern up to end of row, ch 2, sc in first sc of opposite neck, sk 1 sc, sc in each of next 4 (5, 6, 5, 4) sts, continue in Stitch Pattern across—12 (12, 12, 14, 16) ripple repeats.
Continue in Stitch Pattern until 73 (85, 85, 97, 97) rows completed from very beginning—12 (14, 14, 16, 16) 6-row repeats and 1 single crochet row. Fasten off.
Continue to Back Hem
Row 1: Count across 27 (31, 35, 31, 27) sts and join yarn with sl st in next st. From opposite side, count across 27 (31, 35, 31, 27) sts and place stitch marker. Continue in Stitch Pattern up to stitch marker, turn, leaving remaining sts unworked.
Continue in Stitch Pattern until 95 (107, 107, 125, 125) rows completed from very beginning—15 (17, 17, 20, 20) 6-row repeats and 5 single crochet rows. Fasten off.
Finishing
With yarn needle, seam sides of body and sleeves. Block as desired. Weave in all ends.
Pin It