The last phrase in every crochet pattern reads “Fasten off, weave in ends.” But what do these words mean?
And what are the best methods for ensuring your project will last for years without unraveling?
In this article, we will give you our top tips and techniques to fasten off and weave in your ends for a professional, long-lasting finished piece.
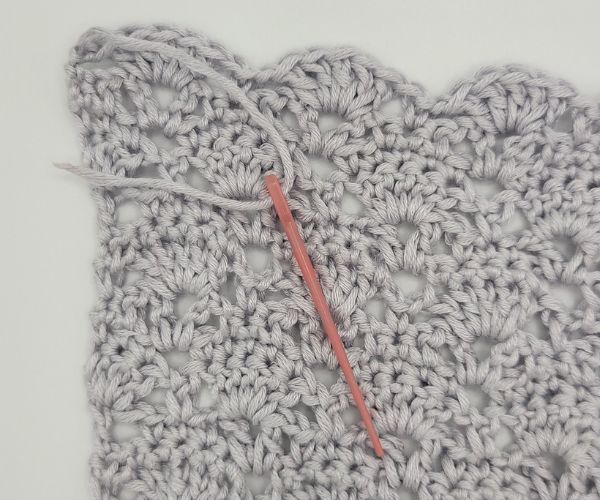
How To Fasten Off
To fasten off your project, simply cut the working yarn, leaving at least six inches of length to weave in.
Some crocheters pull this tail through their last stitch and tug it tight.
Others chain one, pulling the end through the chain and tugging it tight. Both methods are correct and secure.
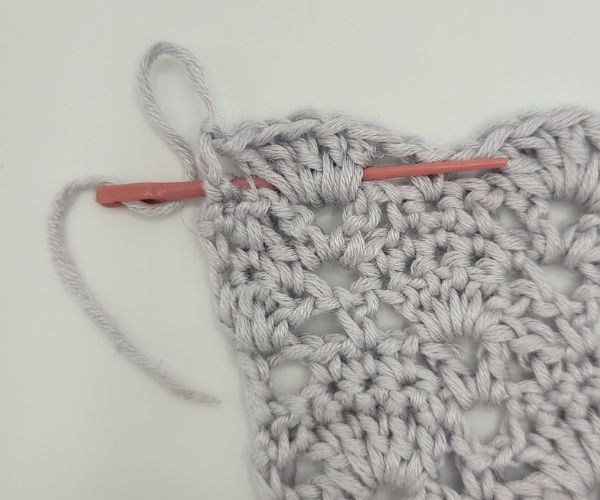
What does “Weaving in” mean?
Weaving in your ends is the act of tucking in the tail of your working yarn securely. Properly weaved in ends will stay tight for years to come.
Weaving Techniques
You can weave in your ends horizontally, underneath the stitches. Alternatively, you can weave in the ends vertically, up the height of the stitches.
The technique you chose will depend on the type of fabric you have created.
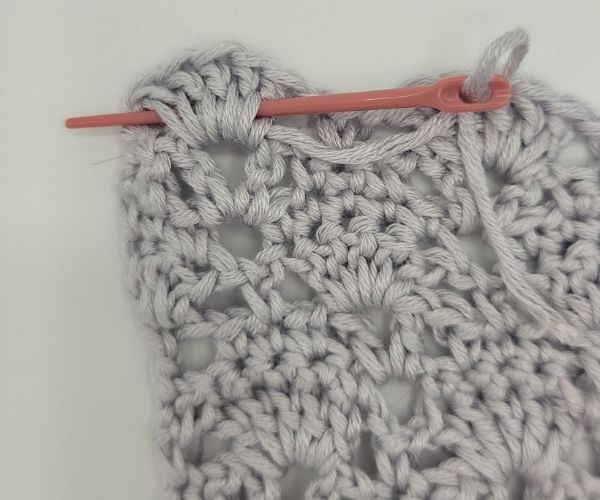
Horizontal Weaving
The horizontal weaving technique is best used with a dense fabric. This technique is generally the easiest to do, hides well, and stays very secure.
Step 1:
Thread your end into your yarn needle.
Step 2:
Using the needle to pull the yarn, weave the end under the legs of at least 3-6 stitches. The more stitches you are able to weave the end under, the more secure your ends will be.
Step 3:
Repeat step 2 several times, until you have weaved in several inches of the tail.
Step 4:
Trim off any excess. Add a dab of fabric glue, if desired.
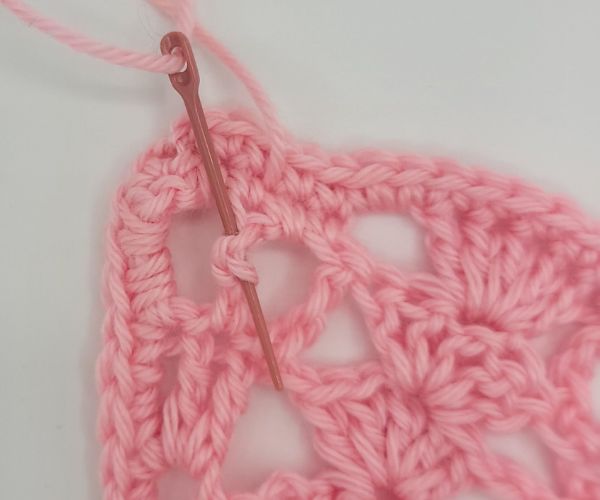
Vertical Weaving
The vertical technique is most often used with lacy stitches that don’t have many stitches lined up in a row.
With this technique, you will want to incorporate the steps used in the horizontal technique.
Step 1:
Thread your end into your needle. Begin by weaving under the last stitch you made.
Step 2:
Weave the yarn through the post of the stitch, making sure to catch each wrap of the yarn overs used when forming the stitch.
Step 3:
Once you have reached the top or bottom of the stitch, weave the end under the base of the next row of stitches. Repeat steps 2 and 3 until your end is secure.
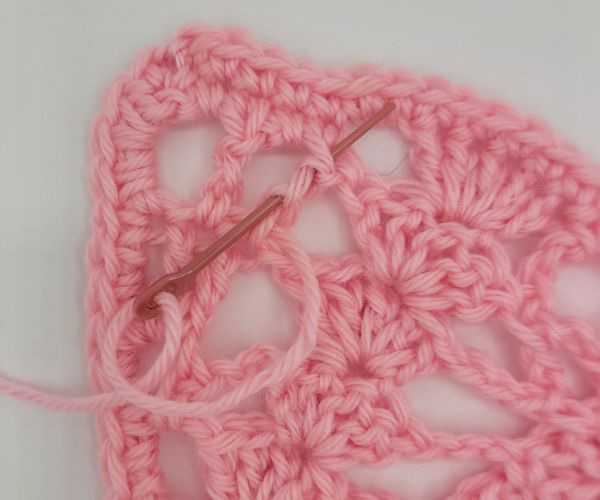
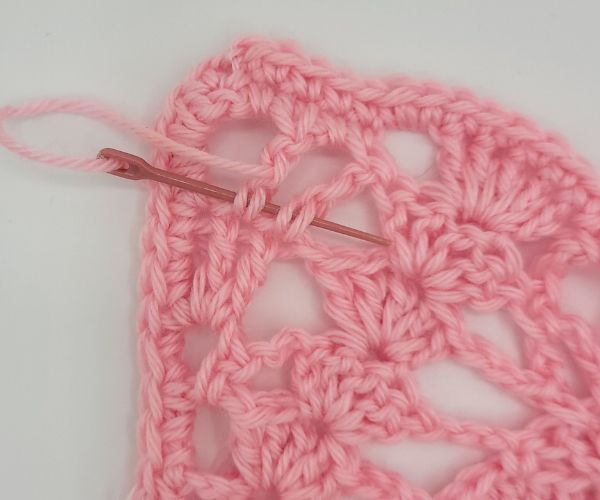
Step 4:
Trim any excess. Add a dab of fabric glue, if desired.
Best Tools to Weave in Ends
Weaving in ends is not a complicated process, but a few tools will make the process easier. These are the tools I use most often.
Tapestry or Yarn Needle
This large needle comes in a few different sizes, so pick the one that you can easily thread your yarn through.
Some needles come bent while others are straight. I prefer the crooked needle, personally.
To find the one that works best for you, try both! I highly recommend getting a set that includes a case to help keep track of them.
Some recommended options:
Small Crochet Hook
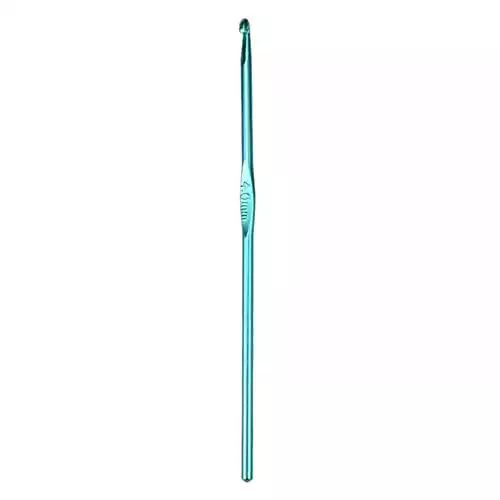
If you are working with very bulky yarn, you might find it easier to weave in your ends using a small crochet hook. Usually, a 4 mm hook or smaller will do the trick!
Embroidery Scissors

Technically, you can use any scissors, but the small, sharp embroidery scissors are the best for trimming off the last bit of your tail without accidentally cutting your stitches.
Read more about our favorite scissors for crochet.
Fabric Glue
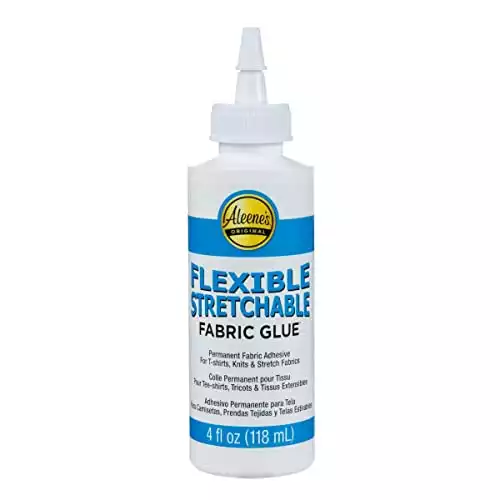
This isn’t a necessary step, but one that I often use for slippery yarn on projects that will get heavily used (like blankets made with Caron Simply Soft).
This glue is flexible and clear. Using a small paint brush, tuck a little glue onto the end after weaving it in to keep it secure for a long time.
I recommend testing the glue on a small strand of the yarn to make sure you like how it will feel when it is dry.
A Little Bowl
Again, this is optional. When I have a lot of ends to weave in, like a blanket full of colorwork, I like keeping a small bowl next to me to keep my ends in.
When I’m finished, I’ll dispose of all the ends at the same time. This way, none get lost in my work or scattered around my workspace.
You don’t need to purchase anything fancy for this, but I’m partial to using an antique my grandmother passed down to me.
How Secure Will the End Be?
The security of your ends depends on two main things: the fiber type of the yarn and the consistency of your technique.
Fiber Type
Some yarns are “toothier” than others. The word “toothy” is used to describe how well the fibers of a yarn cling to each other. Non-superwash wools tend to be very toothy, which leaves them feeling scratchy on the skin.
Toothiness helps the ends to stay in place.
Softer yarns, like silk, polyester, and some acrylics, are not very toothy. The ends on softer yarns tend to slip out of place faster.
Weaving Technique (and tips to improve it)
Weaving in ends is a simple process, but these tips will help you get the longest wear out of your items (and weaved in tails).
Use a long tail
Always weave in at least six inches of yarn. Using less can lead to the tail coming out easily and being difficult to weave in later.
Stretch after weaving
Most crocheted items get a lot of stretching during their use. After you have securely weaved in your end, give the area you weaved a good stretch in all directions before trimming the excess. This will pull the tail deeper into the project and prevent it from popping out during use.
Block before trimming
If you like to block your finished crocheted projects, weave in your ends before blocking, but wait to trim the excess tails.
Since blocking stretches and secures the stitches, trimming the ends after blocking will help them stay secure.
Fabric glue – a little goes a long way
If you decide to use fabric glue, I recommend applying very little using a paintbrush.
The first time I used it, I applied a liberal dollop to each end, which left a weird spot in the project that had a different texture.
If you are able to use a small brush and get the glue under the stitches as much as possible, you will have less variation in the texture of the yarn when the ends are weaved in.
Catch the ends in a bowl
I love making colorful projects, but they always have SO MANY ends to weave in. I like collecting all the trimmed ends in a small bowl as I work. Not only does this keep my work area clean, but I also enjoy watching the colors pile up.
Repurpose Your Ends
While not necessary, many crocheters enjoy repurposing their ends in a variety of ways.
Some keep a jar of all their ends for a year to memorialize their projects. Some use them as stuffing in small amigurumi.
Whichever you prefer, you can always find fun ways to repurpose those tiny bits of yarn that are left at the end of the project.