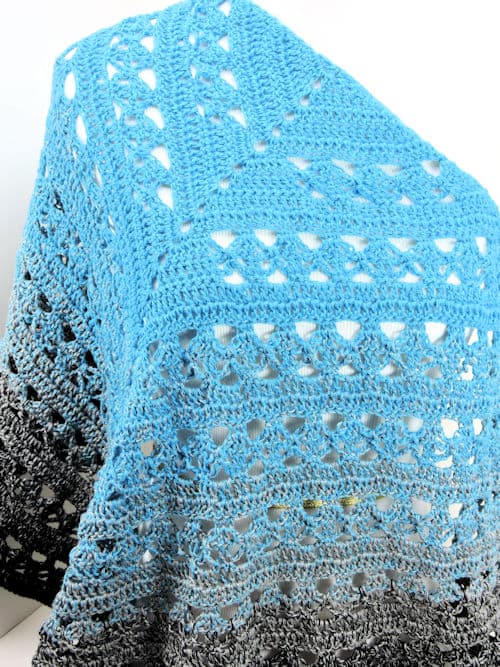
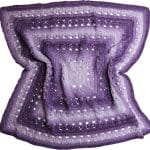
Lunar Crossings Shawl
designed by Kim Guzman © Apr. 2017
Please read my Terms of Use
Technique: Regular Crochet
Finished Size
52″ wide x 28″ high
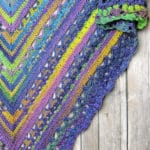
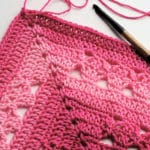
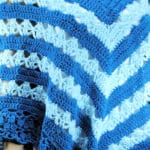
This pattern is based on my Lunar Crossings series. Click on one of the photos below to see the others.

Materials
- Ice Yarn’s Fine Cotton Cake, 100% cotton, fine (#2 weight), 656 yds per 150g. One cake makes the size of slightly larger than a shawlette as shown. For a full size shawl, you will need two cakes.
- Suggested hook: G-7 [4.5mm]
- Yarn needle (for weaving ends)
Video Support
Note: Video will not show if using an Ad Blocker. Please turn off Ad Blocker to view.Gauge
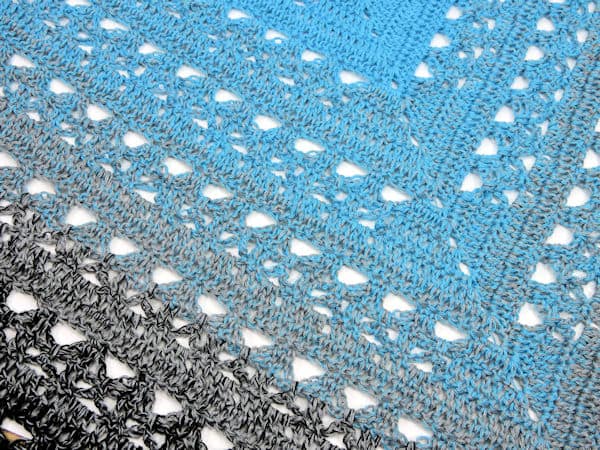
You want a nice lace with a nice drape. The project starts at the top center and grows out, so trying to work to a particular gauge isn’t crucial.

Special Stitches
Long Single Crochet (long sc): Insert hook under the ch-6 sp from the row below, yarn over, pull loop through, yarn over, pull through 2 loops on hook. You will be joining together the ch-6 sp and the ch-4 sp above it.
Note
Project is made from the point with increasing on each row. It is a standard triangle shape. It can be made in any yarn type or weight, with appropriate hook. Work any number of rows for the size desired.
A gradient yarn cake is used which means that the color changes you see are made with the yarn itself. If you prefer to substitute yarn, you can use whatever color(s) you like and change colors as you desire, or alternatively, use one solid color throughout.
Crochet Pattern Instructions
Row 1: Ch 4, 4 dc in fourth ch from hook, turn.
Row 2: Ch 3 (counts as dc here and throughout), 2 dc in first dc, dc in next dc, [2 dc, ch 2, 2 dc] in next dc, dc in next dc, 3 dc in top of beg ch 4, turn: 6 dc on each side, separated by ch-2 sp at point.
Row 3: Ch 3, 2 dc in first dc, dc in each dc to ch-2 sp, [2 dc, ch 2, 2 dc] in ch-2 sp, dc in each dc to last dc, 3 dc in last dc, turn: 10 dc on each side, separated by ch-2 sp at point.
Rows 4-6: Rep row 3. On final row, 22 dc on each side separated by ch-2 sp at point.
Row 7: Ch 1, sc in first and next dc, [ch 6, sk 3 dc, sc in next 2 dc] to ch-2 sp, [2 sc, ch 2, 2 sc] in ch-2 sp, sc in next 2 dc, [ch 6, sk 3 dc, sc in next 2 dc] to end, turn: 4 ch-6 sps on each side.
Row 8: Ch 3, 2 dc in same sc, dc in next sc, [ch 4, sk ch-6 sp, dc in next 2 sc] to last ch-6 sp before ch-2 sp of point, ch 4, dc in next 4 sc, [2 dc, ch 2, 2 dc] in ch-2 sp, dc in next 4 sc, [ch 4, sk ch-6 sp, dc in next 2 sc] to last ch-6 sp, ch 4, sk ch-6 sp, dc in next sc, 3 dc in last sc, turn.
Row 9: Ch 3, 2 dc in same dc, dc in next 3 dc, [ch 3, long sc (see Special Stitches above), ch 3, dc in next 2 dc] to last ch-4 sp before ch-2 sp of point, ch 3, long sc, ch 3, dc in next 6 dc, [2 dc, ch 2, 2 dc] in ch-2 sp, dc in next 6 dc, [ch 3, long sc, ch 3, dc in next 2 dc] to last ch-4 sp, ch 3, long sc, ch 3, dc in next 3 dc, 3 dc in last dc, turn.
Row 10: Ch 1, sc in first and next 5 dc, [ch 3, sk 2 ch-3 sps, sc in next 2 dc] to last 2 ch-3 sps before ch-2 sp of point, ch 3, sk 2 ch-3 sps, sc in next 8 dc, [2 sc, ch 2, 2 sc] in ch-2 sp, sc in next 8 dc, [ch 3, sk 2 ch-3 sps, sc in next 2 dc] to last 2 ch-3 sps, ch 3, sk 2 ch-3 sps, sc in next 6 dc, turn.
Row 11: Ch 3, 2 dc in same sc, dc in next 5 sc, [3 dc in ch-3 sp, dc in next 2 sc] to last ch-3 sp before ch-2 sp of point, 3 dc in ch-3 sp, dc in next 10 sc, [2 dc, ch 2, 2 dc] in ch-2 sp, dc in next 10 sc, [3 dc in ch-3 sp, dc in next 2 sc] to last ch-3 sp, 3 dc in last ch-3 sp, dc in next 5 sc, 3 dc in last sc, turn.
Row 12: Ch 3, 2 dc in same dc, dc in each dc to ch-2 sp, [2 dc, ch 2, 2 dc] in ch-2 sp, dc in each dc to last dc, 3 dc in last dc, turn: 42 dc on each side, separated by ch-2 sp at point.
Note: Each six row repeat increases the stitch count on each side by 20.
Rows 13-54: Rep rows 7-12. Optional: Continue with the same six rows as desired. Fasten off.
Finishing
Block project as desired. Weave in ends securely.