Blocking your finished crochet pieces will give them a high-quality, professional look. In this article, we will discuss mist blocking and answer all your questions:
- What is mist blocking?
- What projects need mist blocking?
- What tools do you need for mist blocking?
- What steps should you follow to mist block your crochet projects?
What Is Mist Blocking?
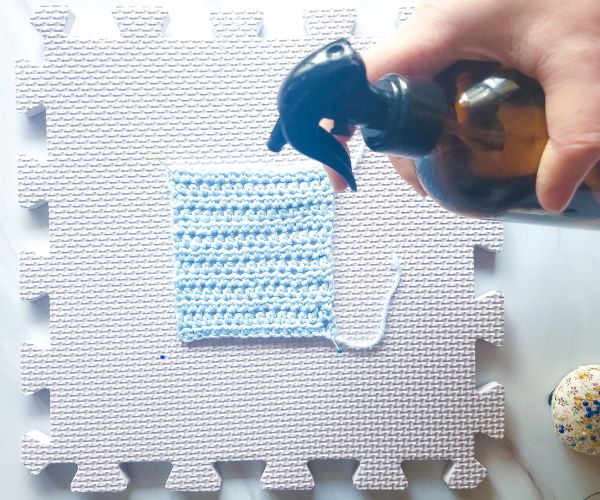
Mist blocking is a finishing technique that gives your projects a professional look. Simply lay your finished piece on your blocking surface, spritz it with water, and allow it to air dry.
Check out this article for more general information about blocking in crochet.
Mist blocking is quicker than wet blocking and gives similar results. Keep in mind, however, that mist blocking will not last as long as wet blocking, especially for detailed lace projects.
What Projects Need Mist Blocking?
Even though several blocking methods are available, certain projects benefit from the quick and simple mist-blocking technique.
Blanket Squares
Whether you love the classic granny square or you are making a different type of blanket square, these patterns benefit from light mist blocking.
When you block all the squares together, they retain the same size, looking crisp and uniform when the project is completed.
Rushed Projects
While wet blocking will give the best finish, sometimes you don’t have time to wait for the finished piece to dry.
Maybe you made a blanket as a baby shower gift and finished it last minute, or you are just impatient and want to seam up your new sweater as soon as possible.
Mist blocking dries much faster than wet blocking, making it perfect for when you’re in a hurry.
What Tools Do You Need for Mist Blocking?
Since this process is so similar to wet blocking, you will need all the same tools, with just a couple of changes. (Read more about blocking tools for crochet.)
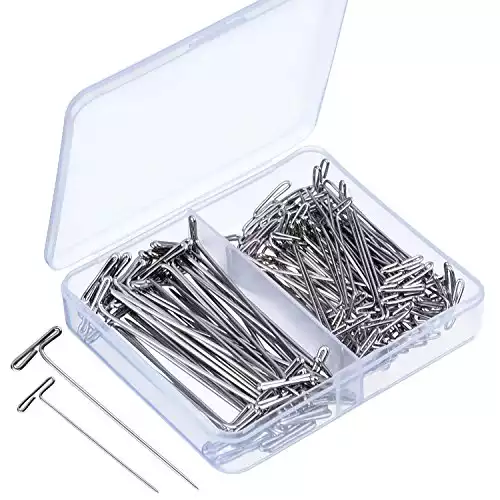
Rustproof Pins
Mist blocking involves water. Always use rustproof straight pins to prevent stains on your work.
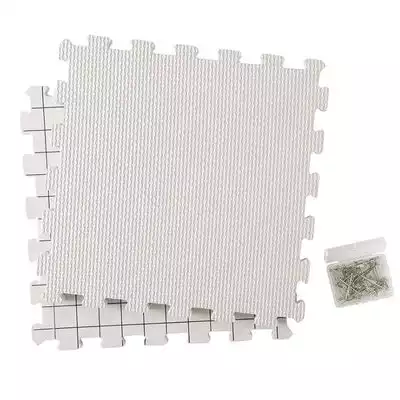
Blocking Mats
These specialty mats promote air flow, allowing your blocked projects to dry faster. The interlocking function creates enough space for even your largest projects.
Water Mister or Spray Bottle
While any mister or spray bottle will do the trick, you can choose something fancy as your special blocking mister or pick up a continuous mister to relieve hand strain. Make sure you only ever use water in the mister you block with.
Hair Drier (Optional)
If you are in a rush, you can speed up the drying process with a hair drier. Remember to use a cool setting and hold the drier at least 8”–12” away from the project.
Steps to Follow When Mist Blocking
This quick blocking process is completed with just a few steps.
Step 1: Prepare Your Project
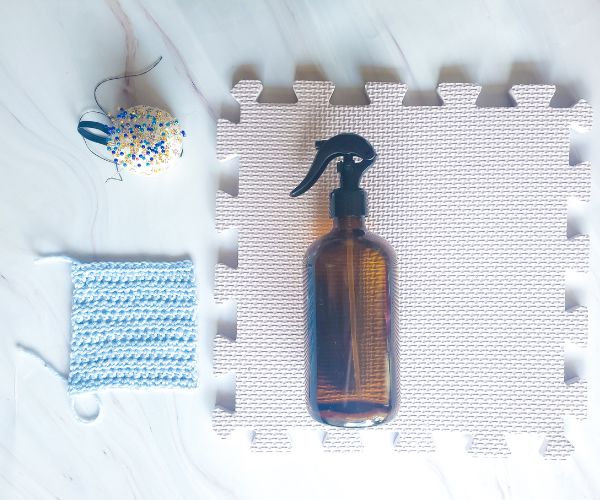
Lay out your blocking mats in the size and format needed to accommodate your finished project. Lay your dry crocheted piece on the blocking mats, stretching it to the shape needed.
Step 2: Pin in Place
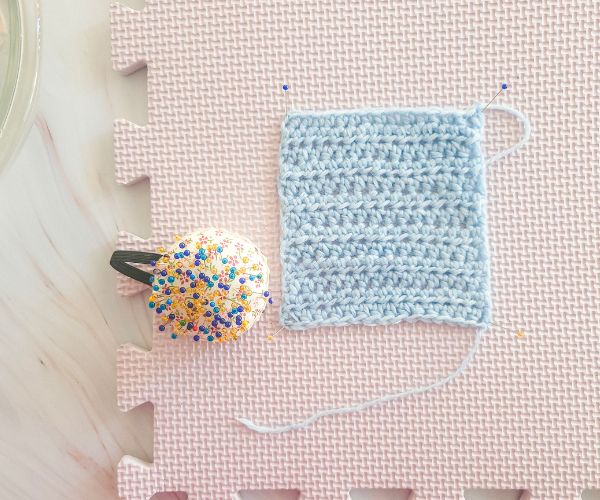
Use your rustproof pins to keep your project in the shape needed. Keep in mind you can stack blanket squares for uniform shaping in the next step.
Step 3: Spritz and Press

Spritz the pinned project with clean, room-temperature water and press the water into the fibers with your hands. If you are blocking multiple blanket squares, you can stack them, misting and pressing between each one.
Step 4: Dry and Remove
You can allow your project to air dry, or you can assist in the drying process.
If you are too busy to stand by your project, turn on the ceiling fan or place a stand fan near your project to keep the air moving. You can also blow-dry your project with a hair drier on the cool setting.
Once dry, remove from your blocking mats.
Block and Go
Without the constraint of days of drying time, the mist-blocking method opens up the world of blocking to busy crocheters. This process takes much less time than traditional blocking while still being effective.
Will you give this blocking method a try?
